
Routing emails through a Cloudflare Worker
This is a quick walkthrough of how to setup email routing on your domain and process emails with a Cloudflare Worker.
The docs and dashboard UI are already really awesome, so I’ll be relying on screenshots a lot. 😇
If all you need is to forward emails, you can do this without a worker, but workers are a nice way to handle more complex routing logic or process emails in other ways.
This post assumes that you have a domain name and are using Cloudflare to manage DNS. It also assumes that the domain is not already configured for another email provider.
Oct 27, 2024: Added POST handler which sends email, updated GitHub starter.
1. Enable email routing on your domain
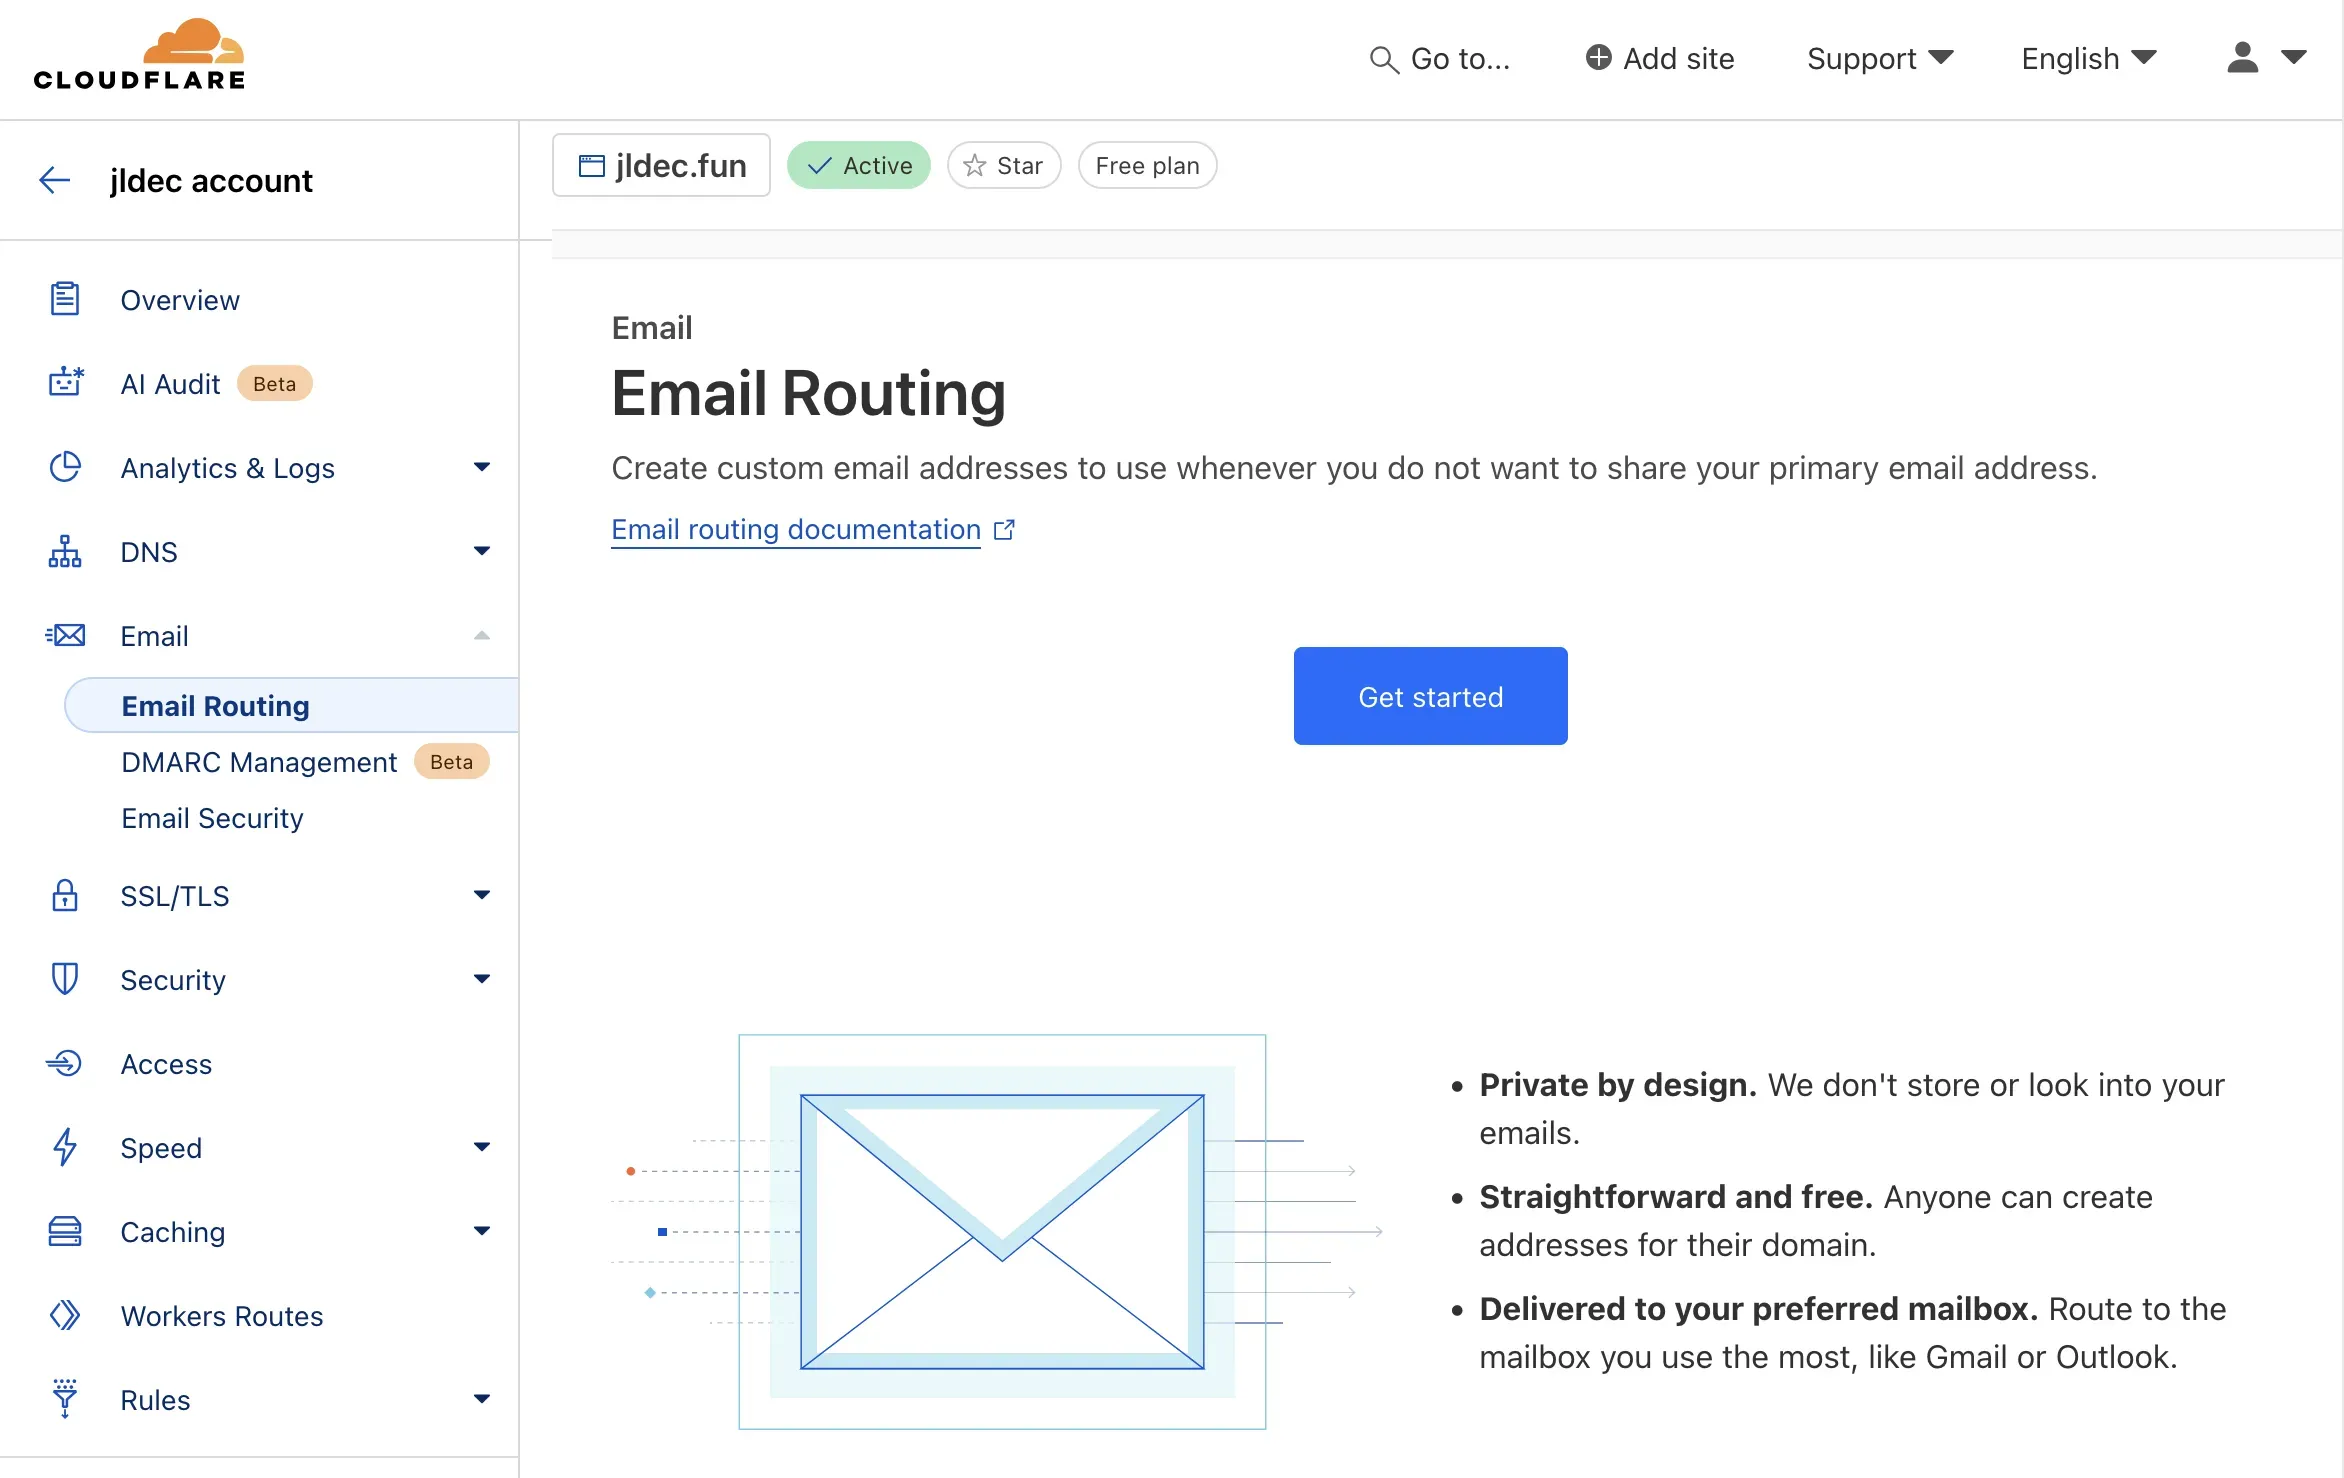
Go to Websites in your Cloudflare dashboard and select the domain for which you’re enabling email (I’m using jldec.fun).
Look for Email > Email Routing and click the Get started button.
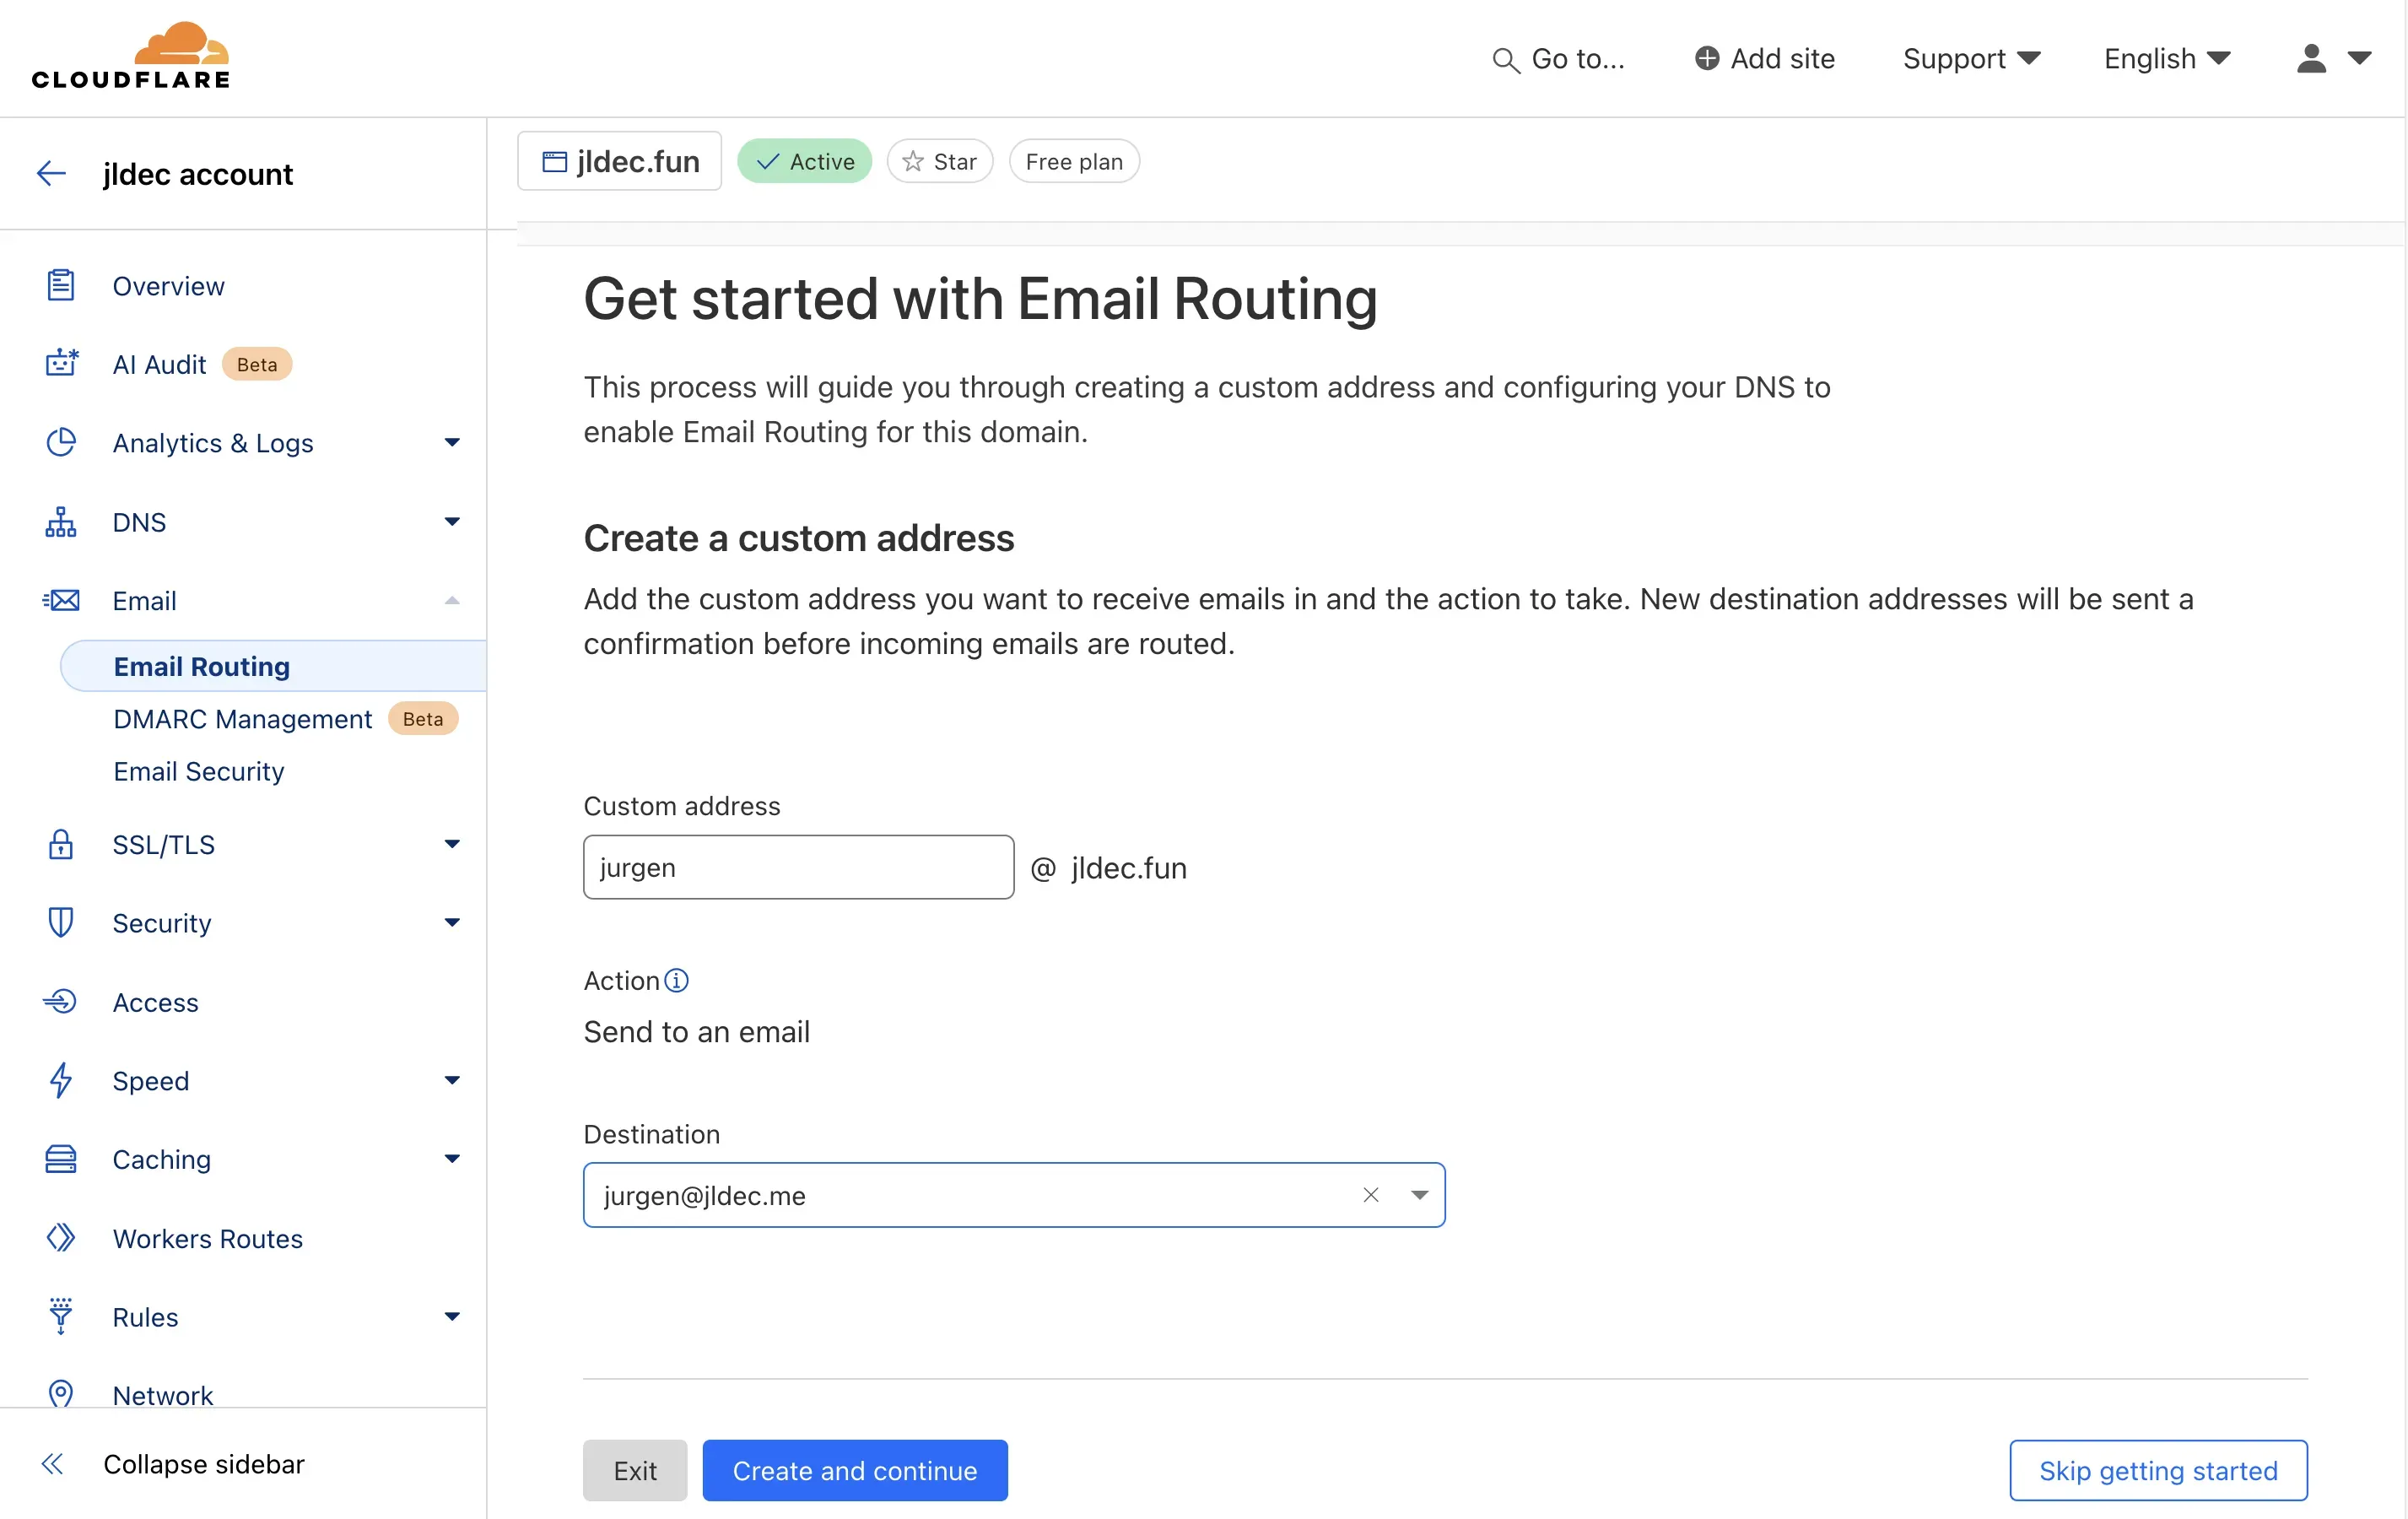
Provide a new address for receiving, and a destination to forward to.
After verifying the forwarding address, confirm the DNS changes.
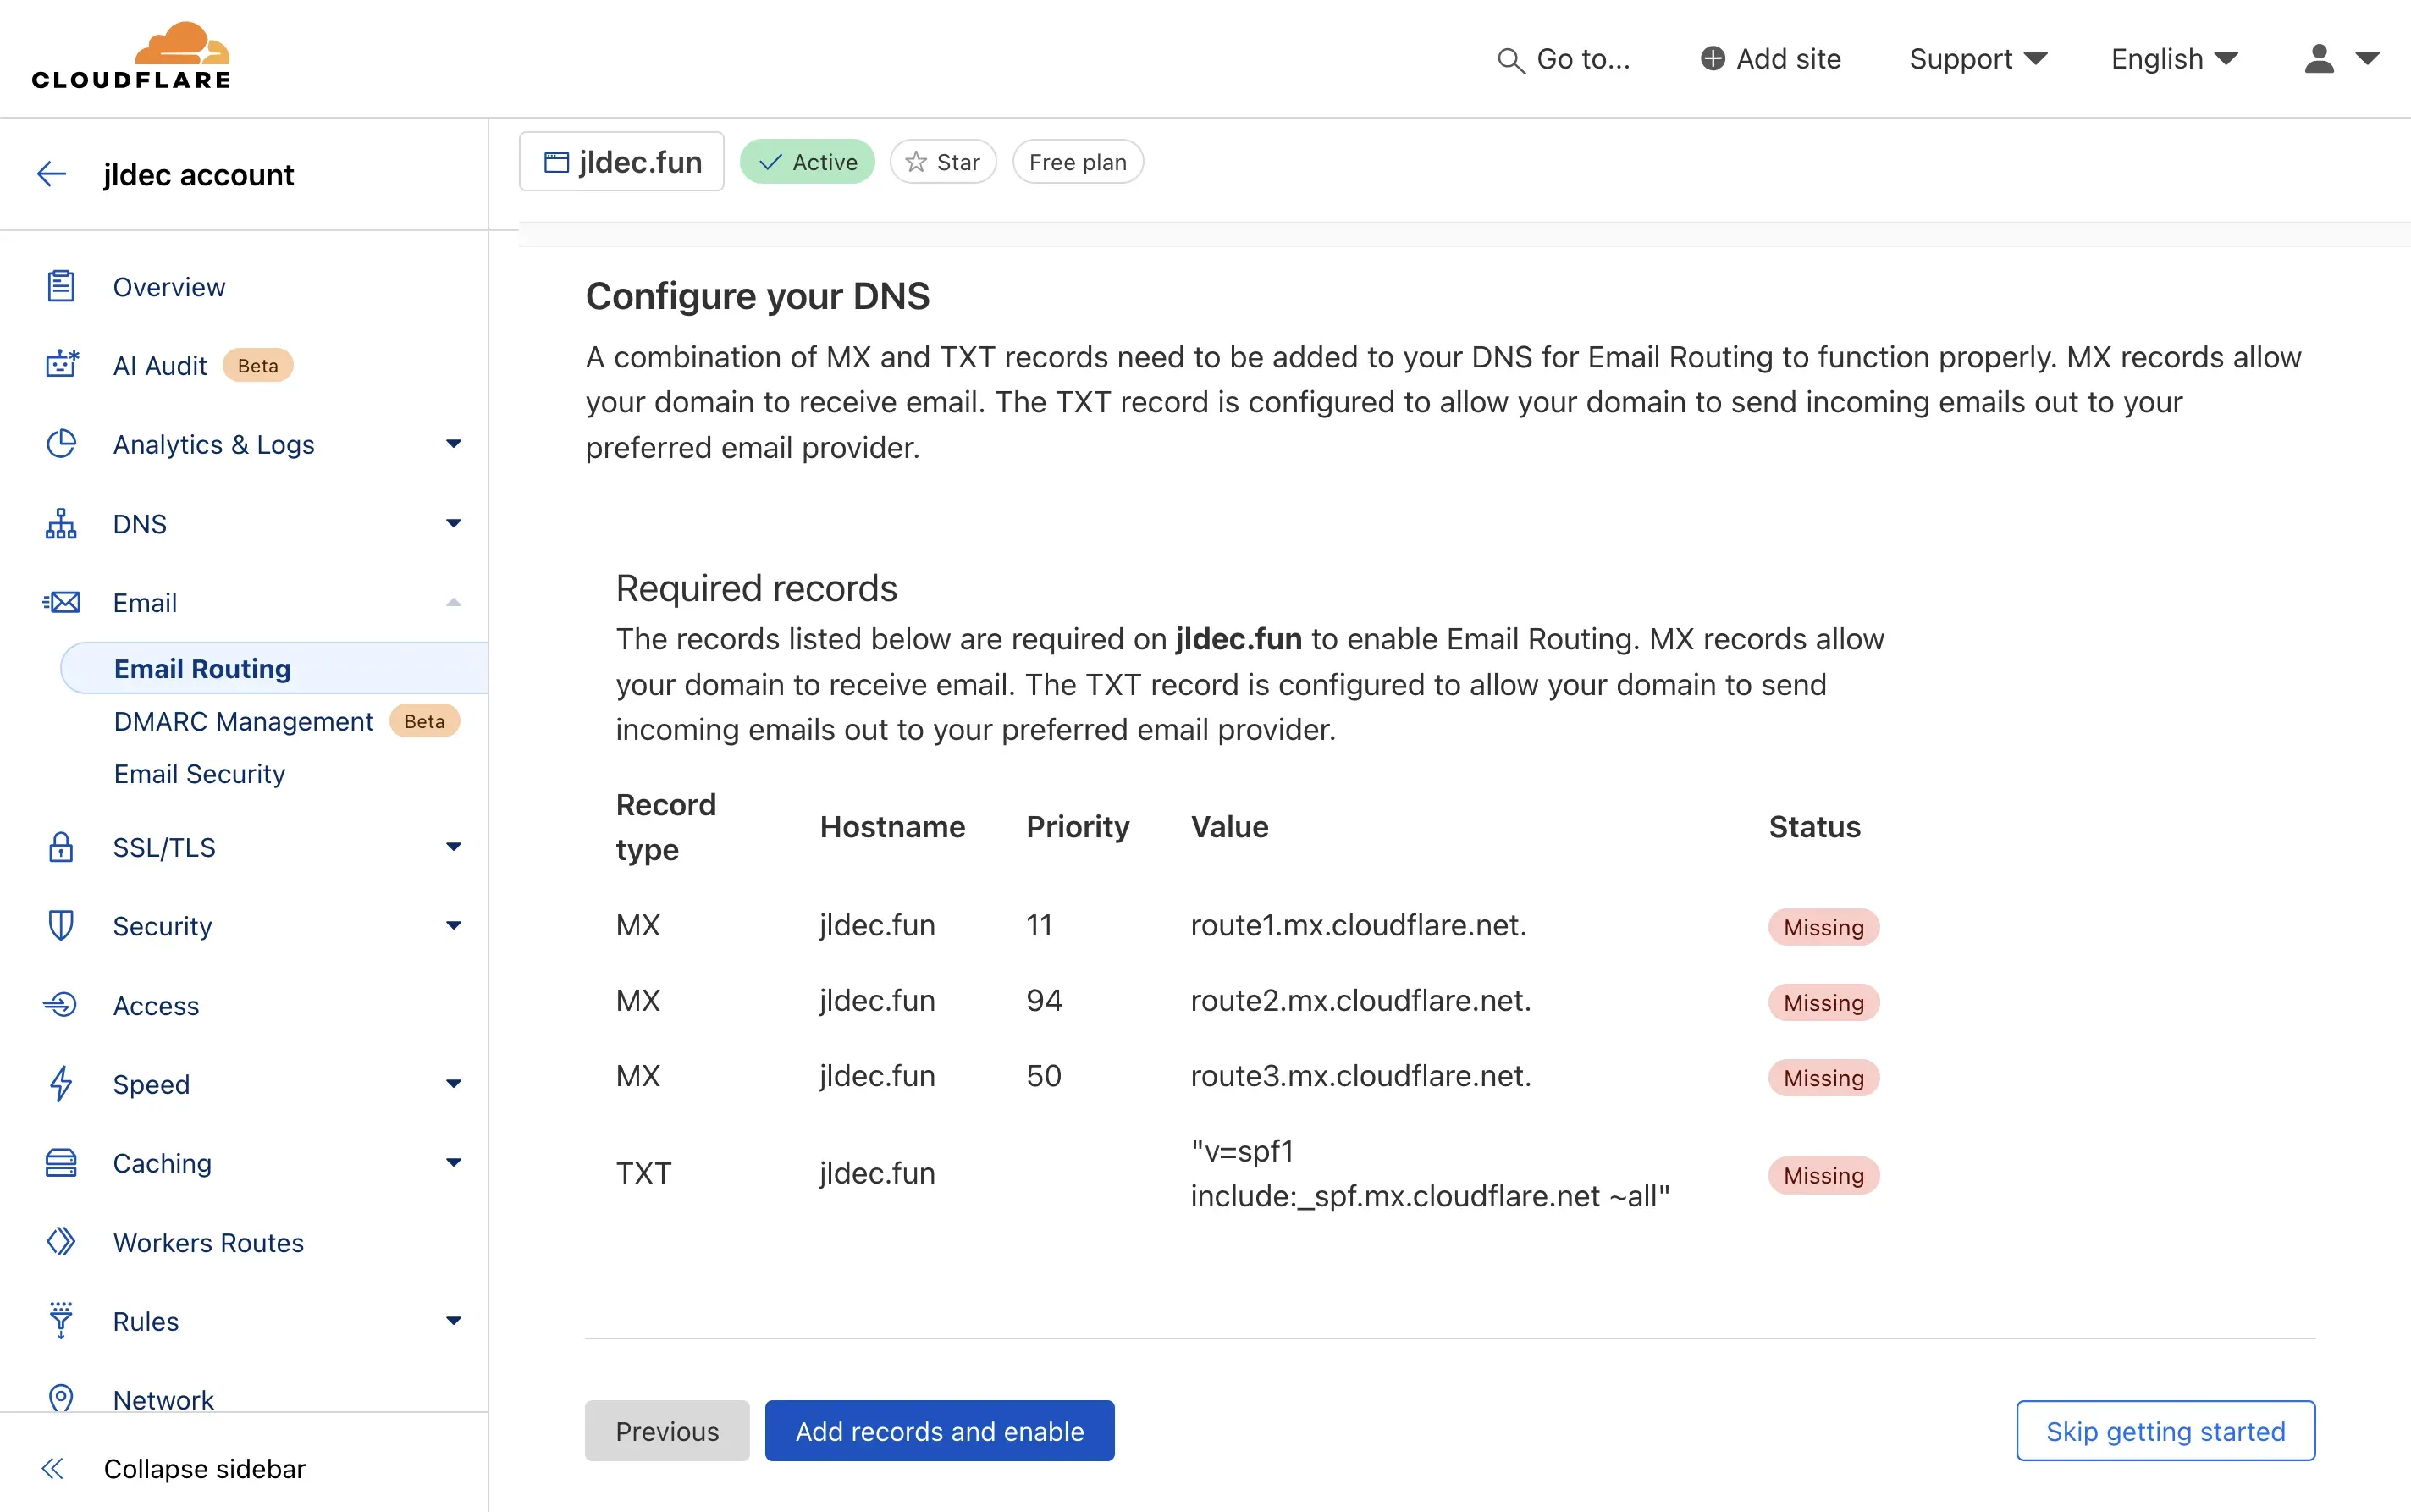
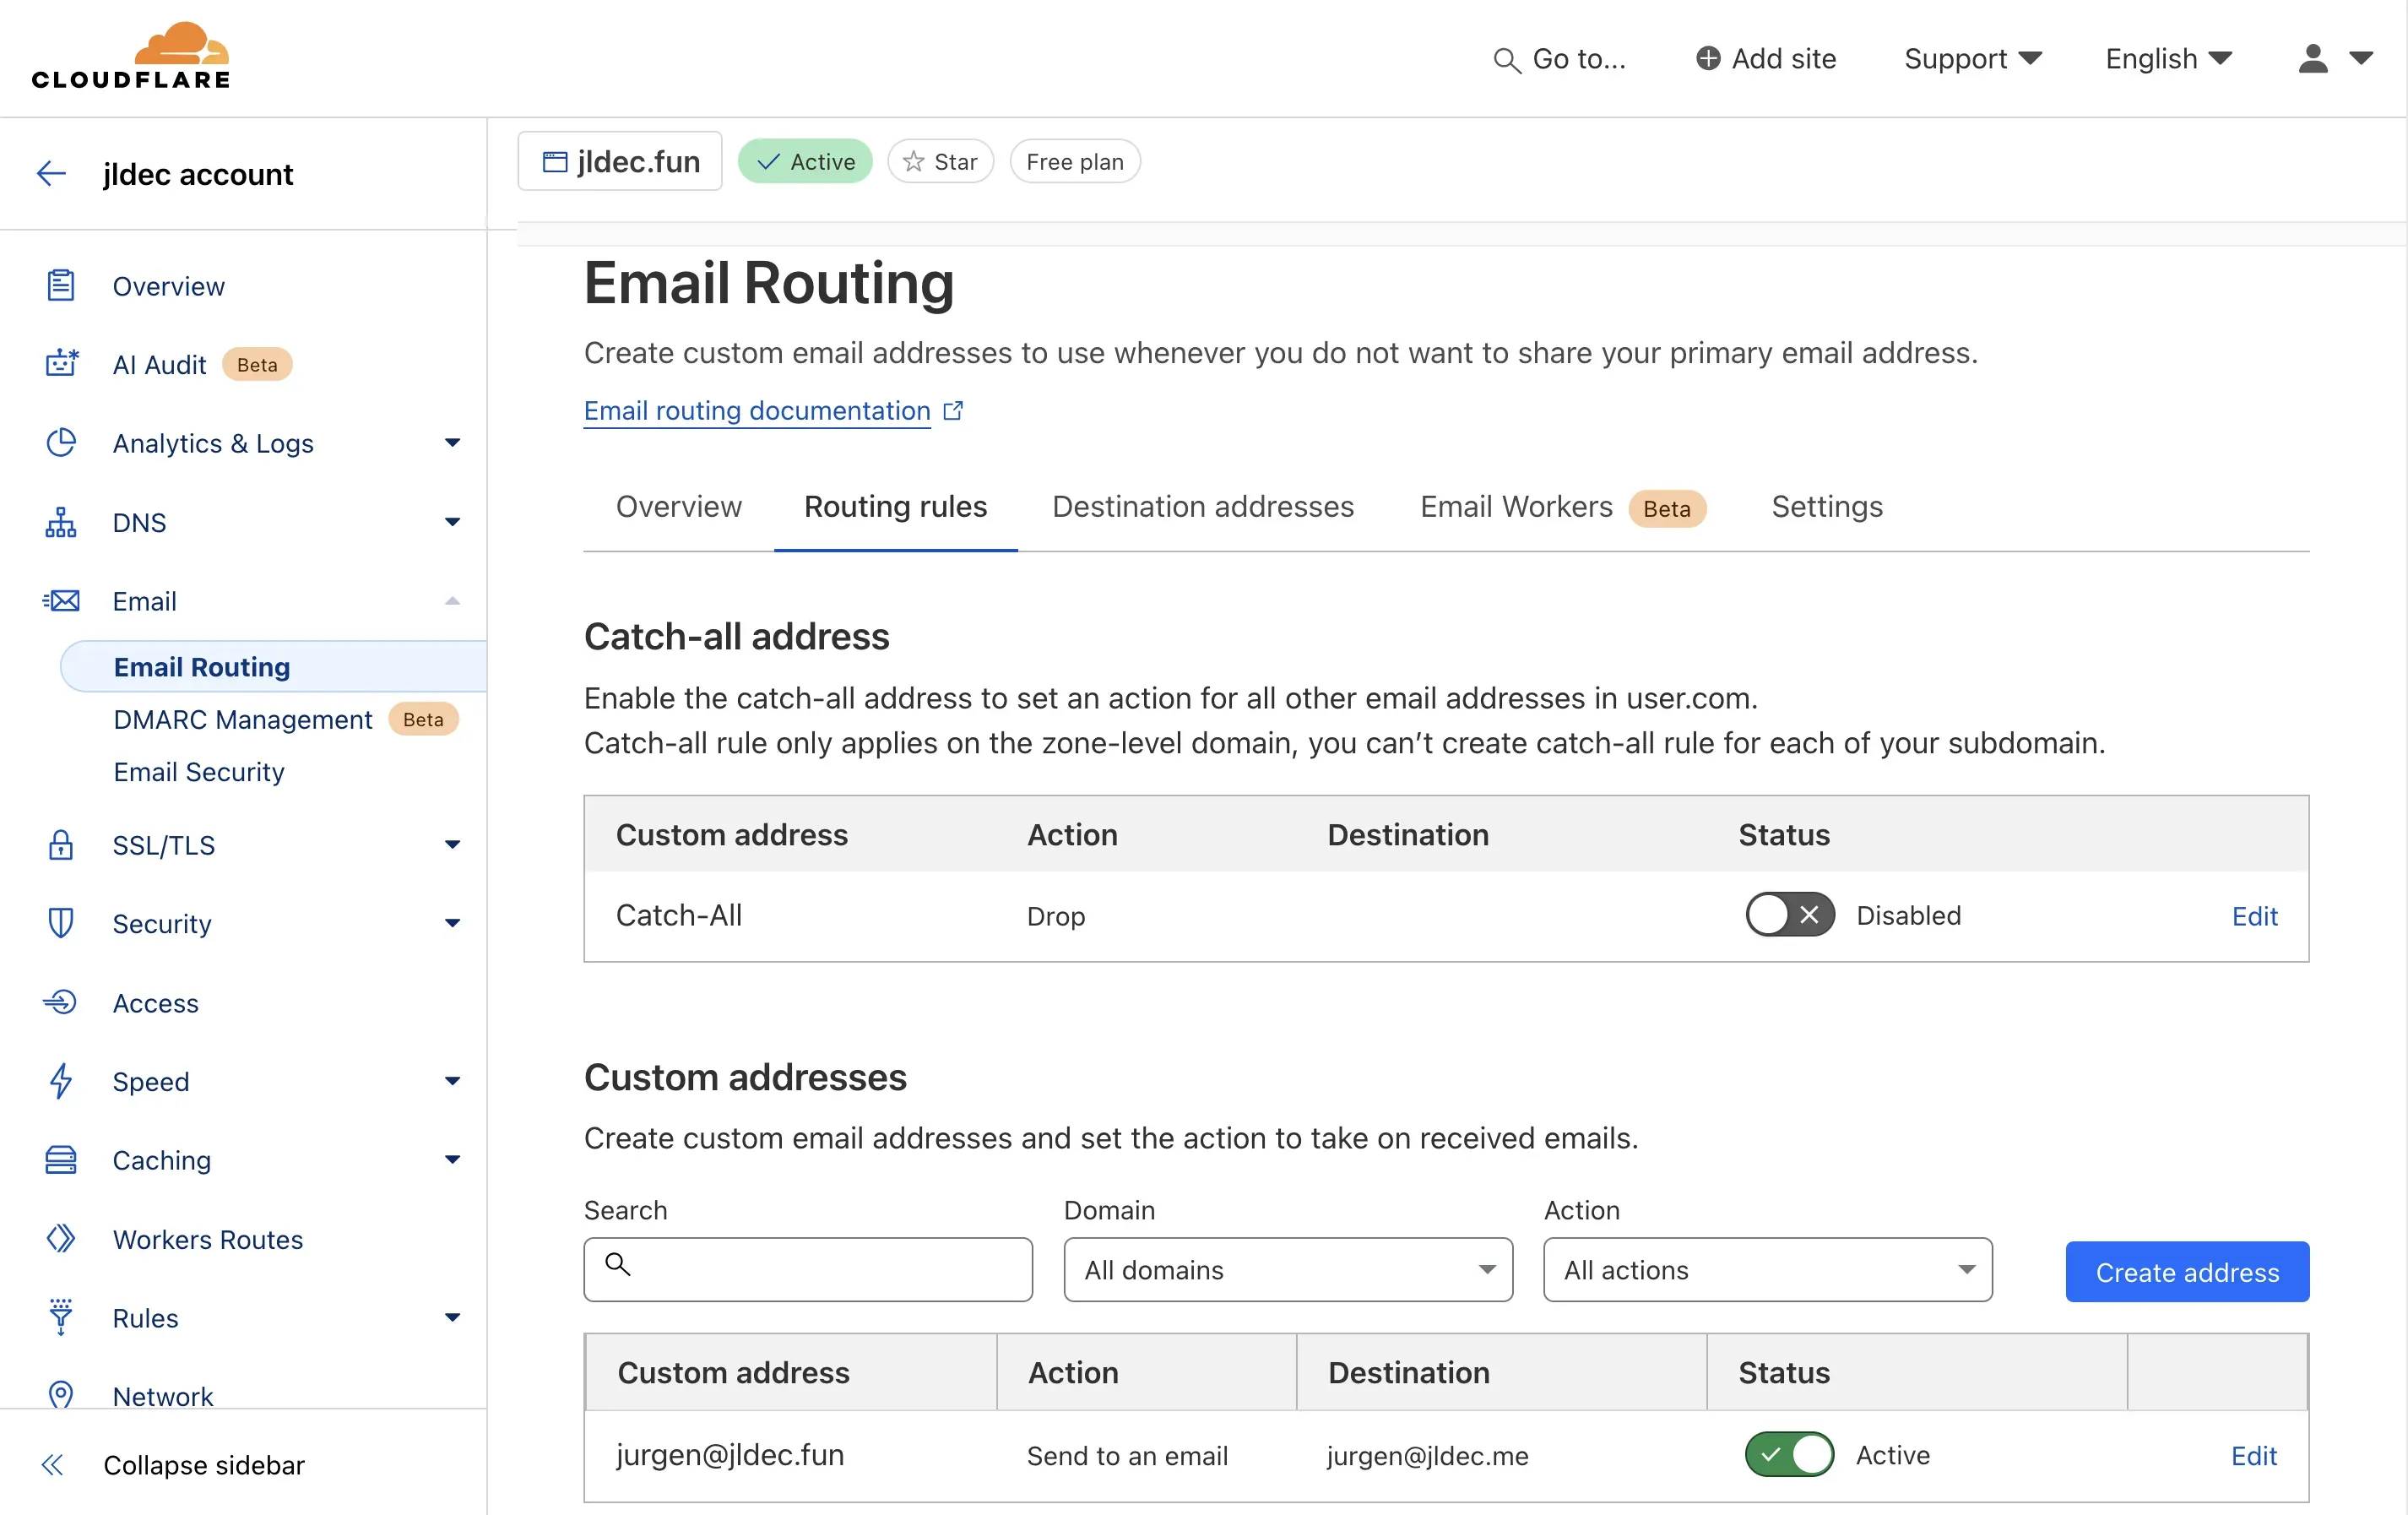
Once the DNS changes are done, your first routing rules will take effect.
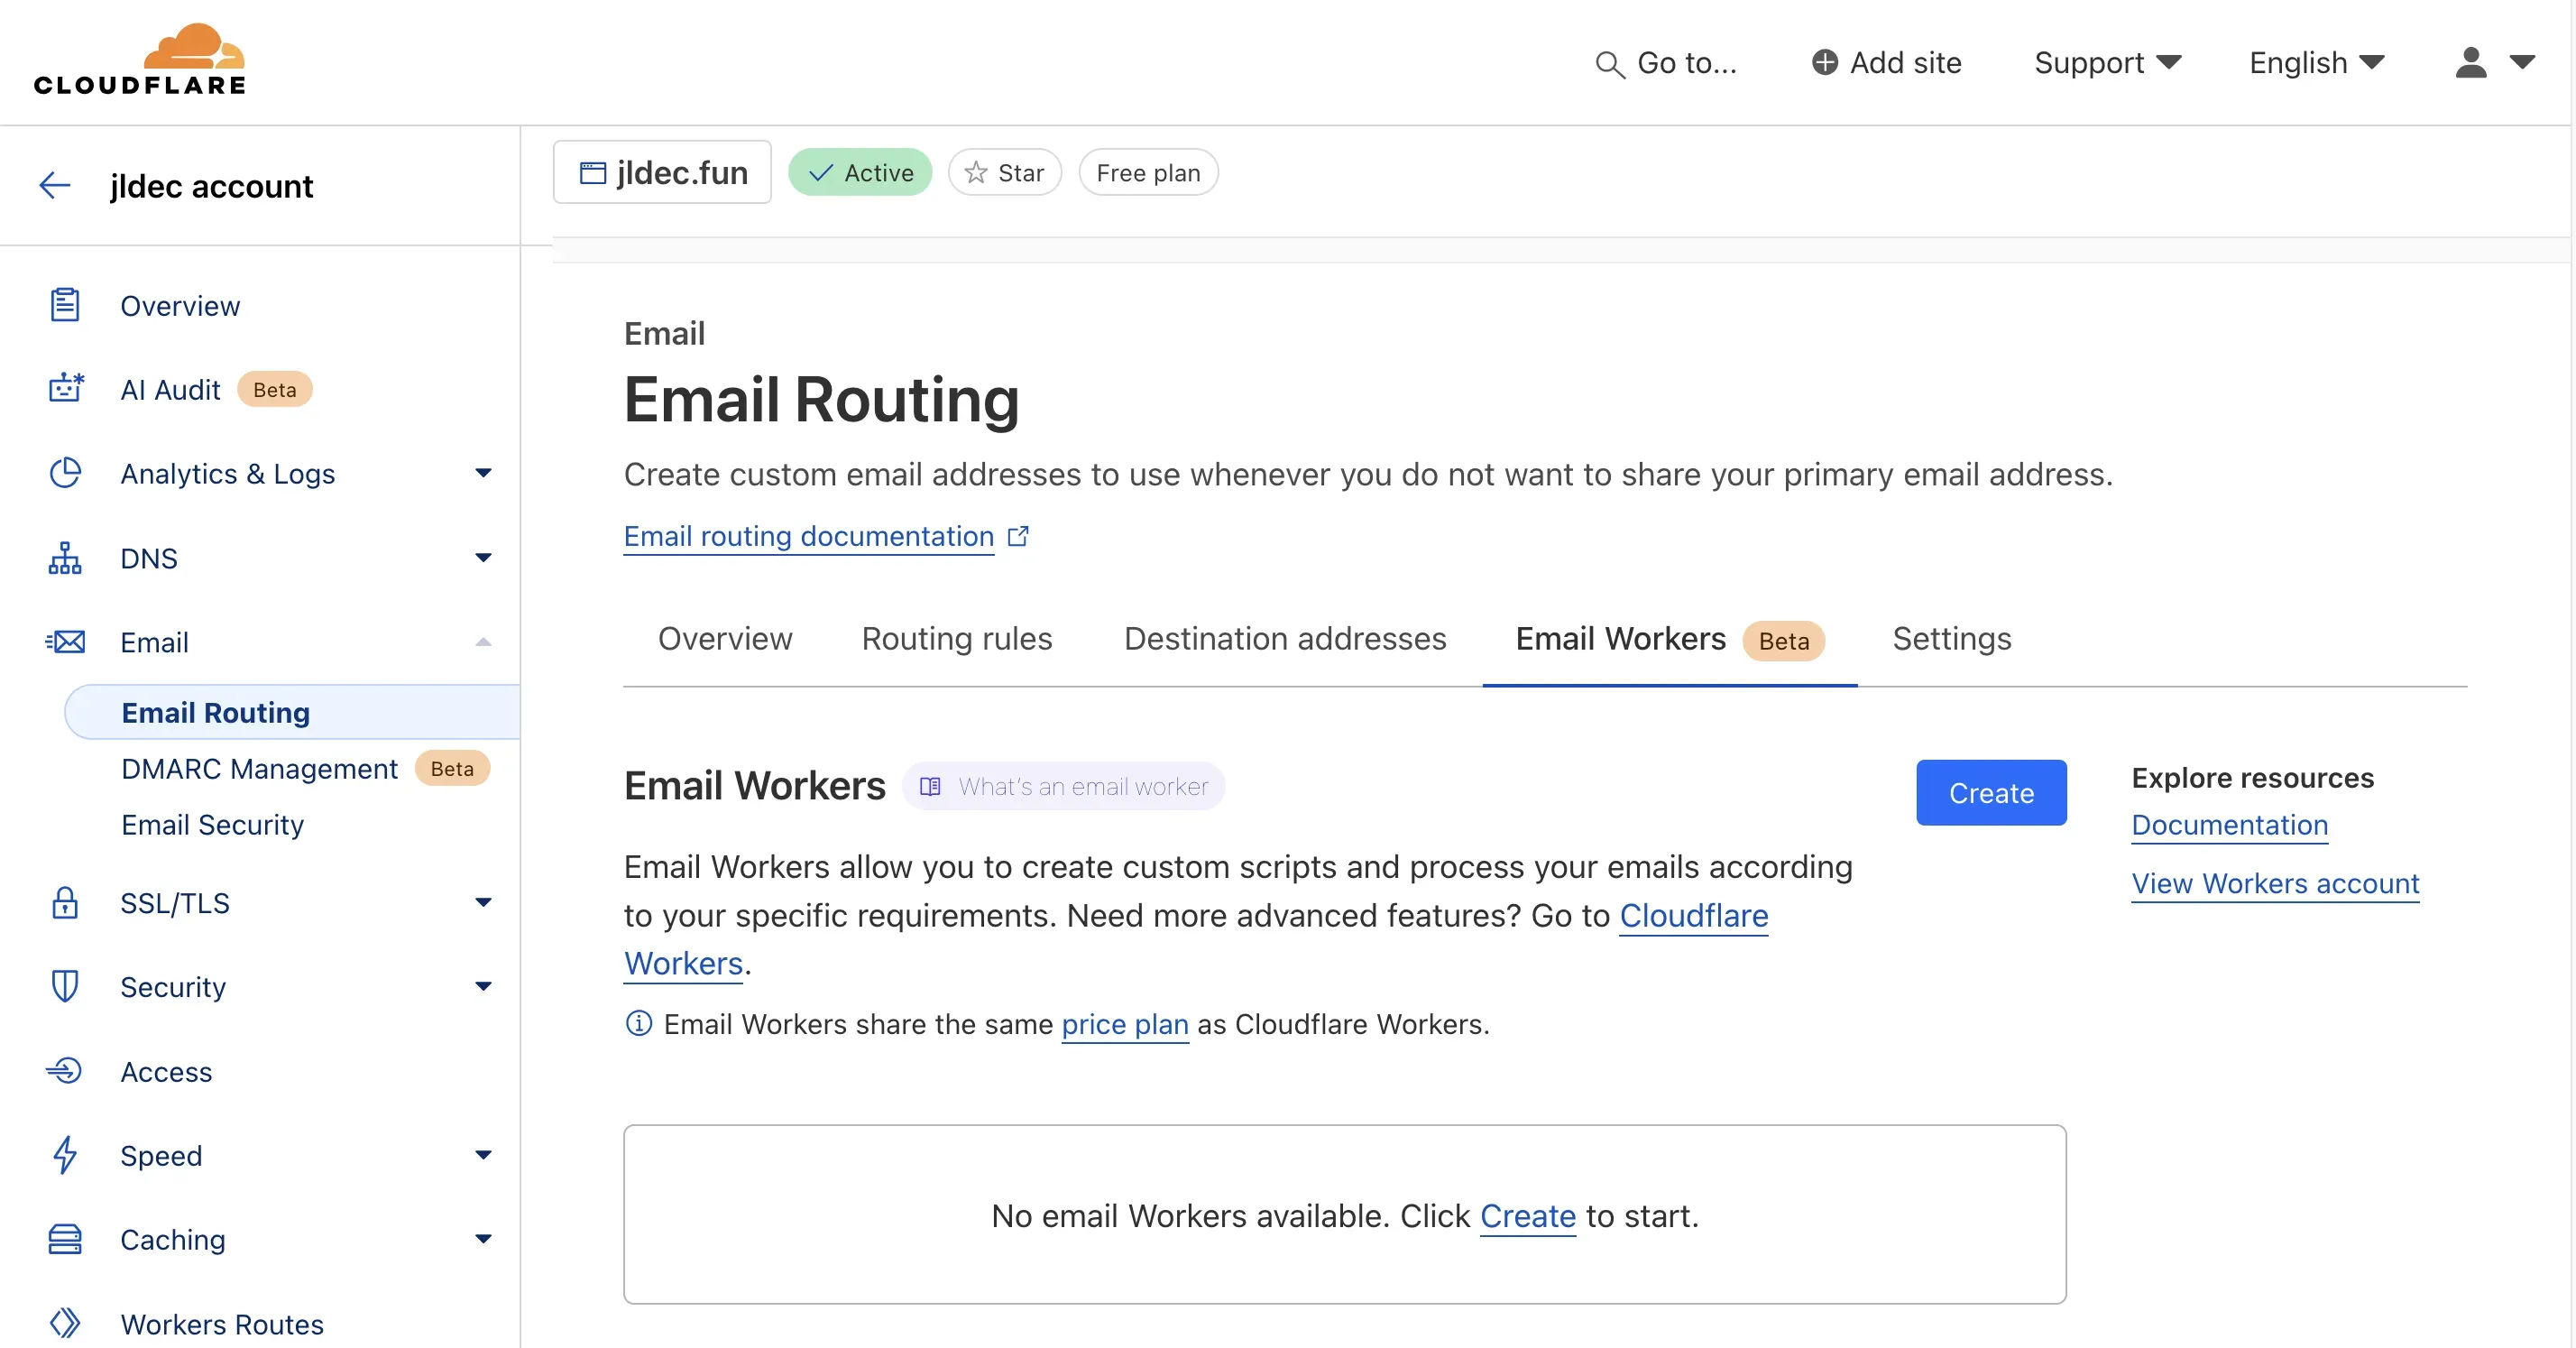
2. Setup an email Worker
In this step we will add a worker, triggered by incoming email messages.
Go to the Email Workers tab, and cick the Create button.`
Choose the Allowlist senders starter.
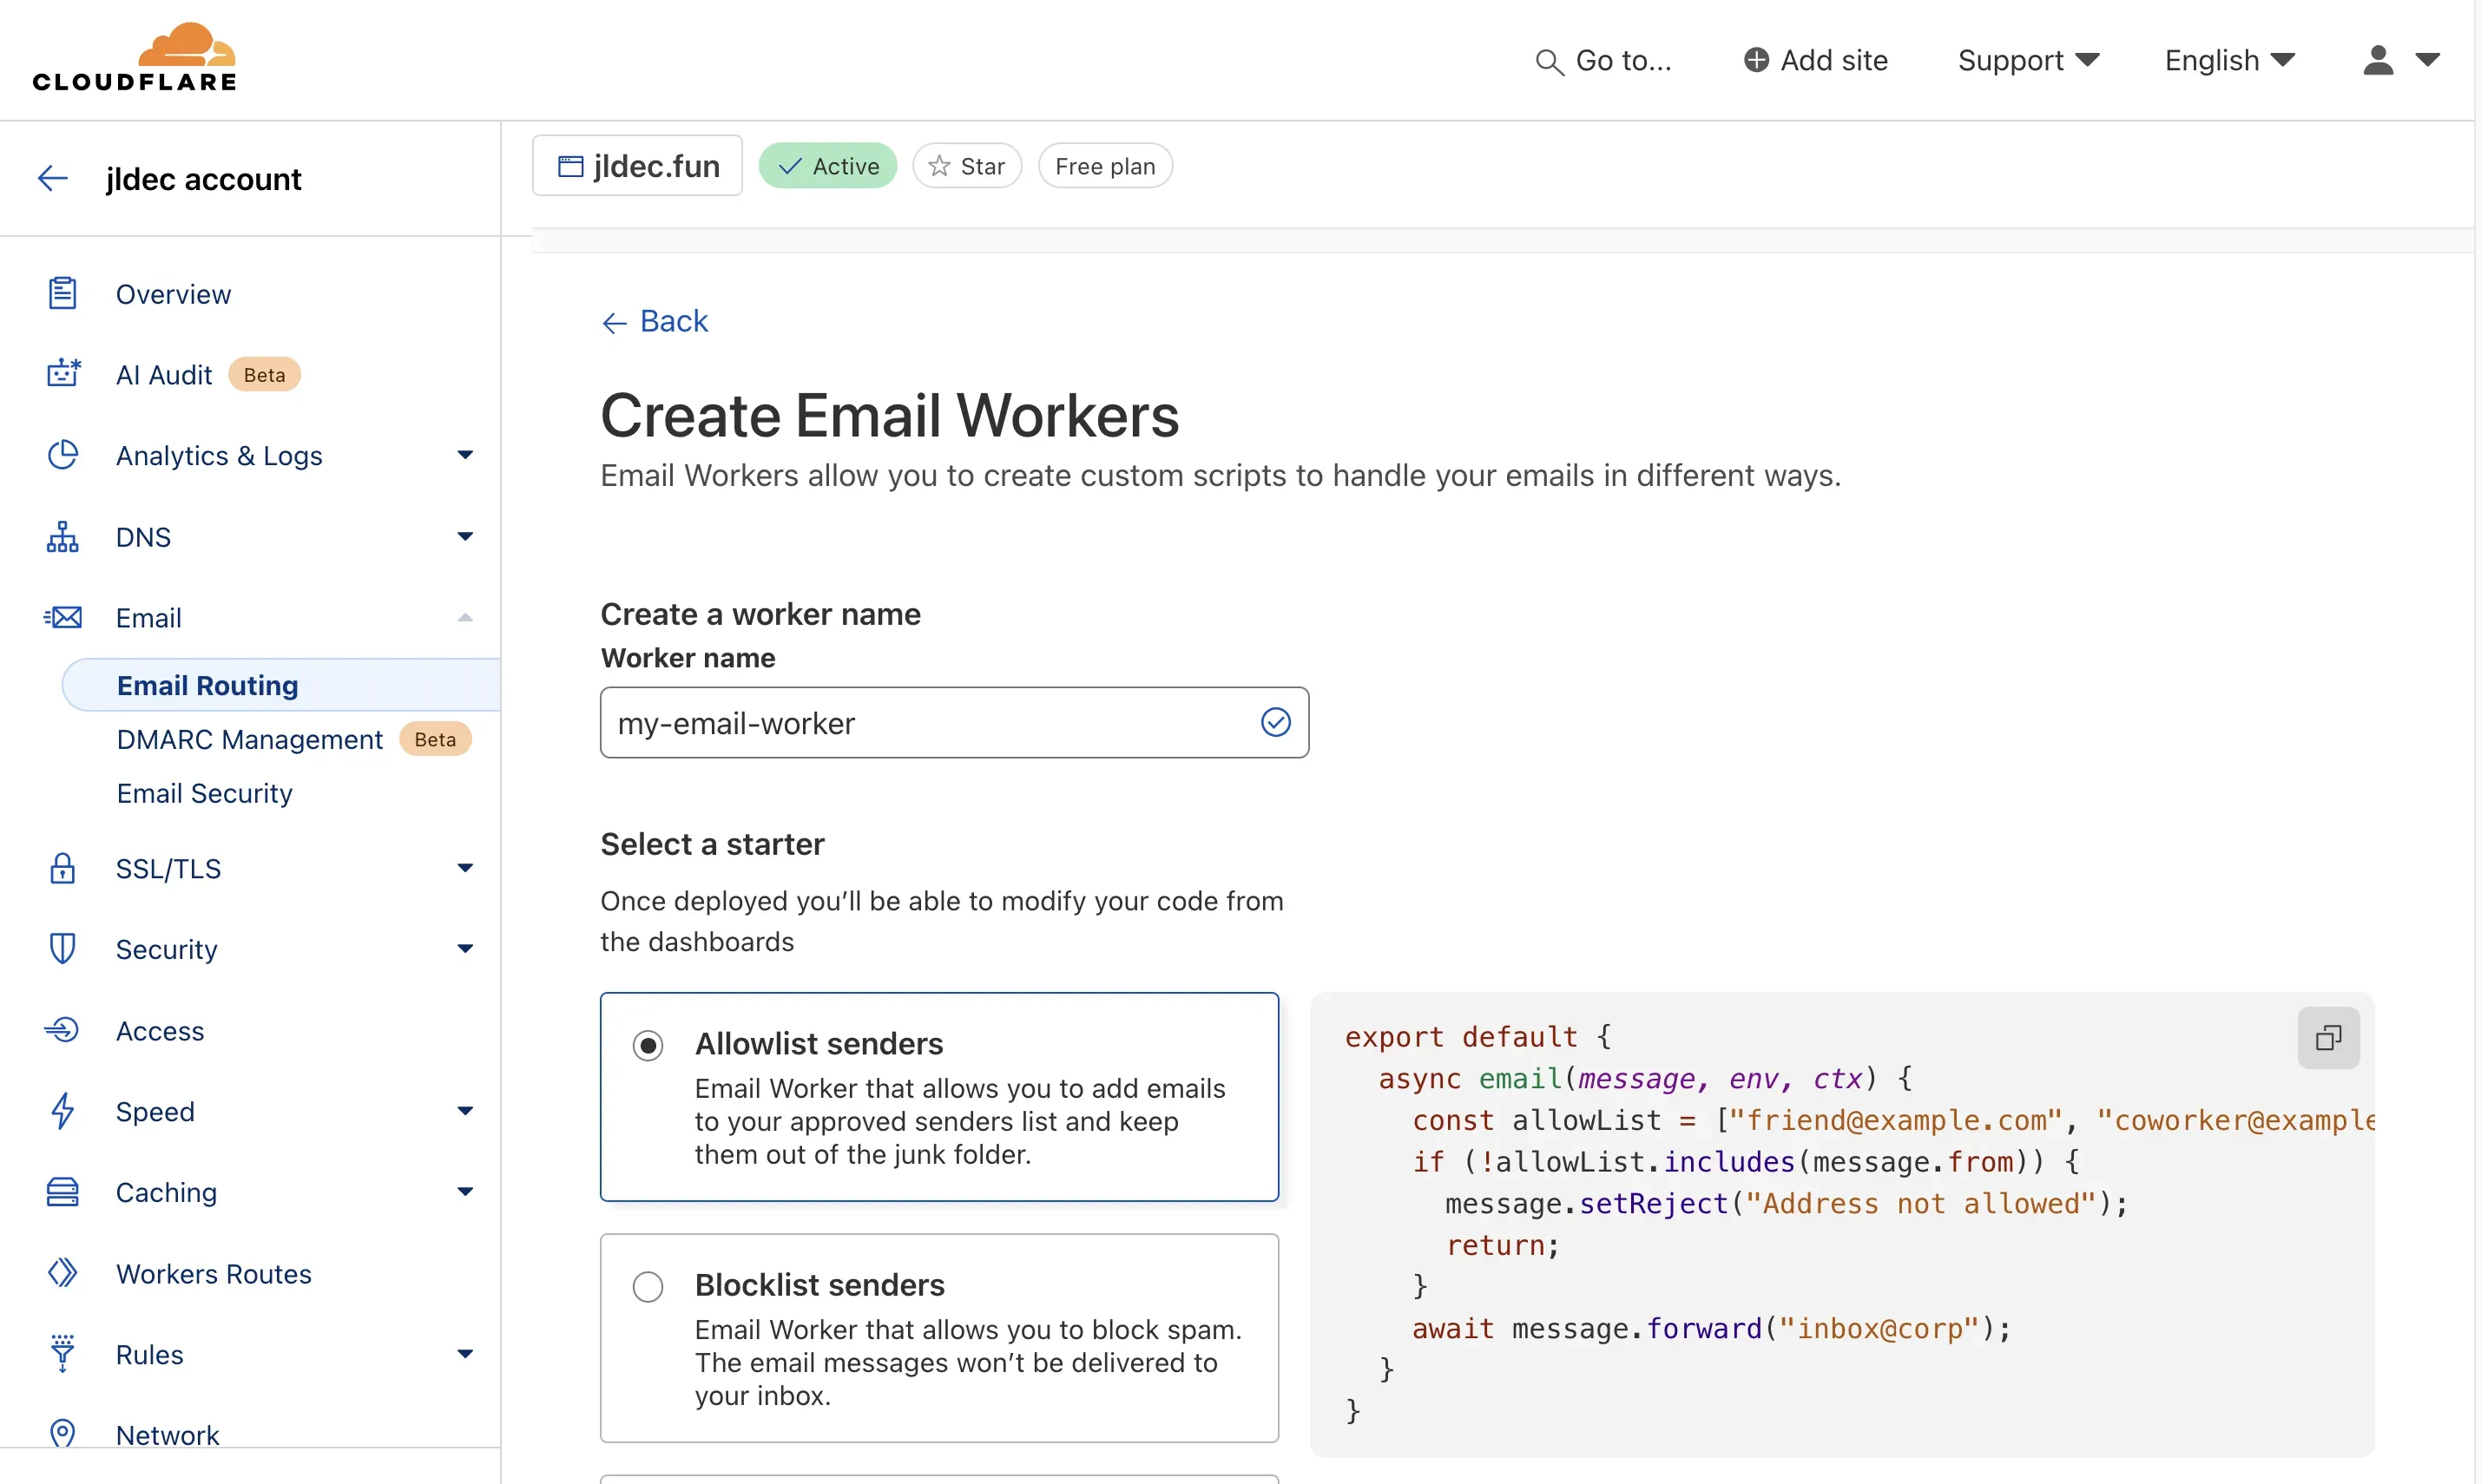
In the online editor, fix the code to suit your needs, then Save and Deploy.

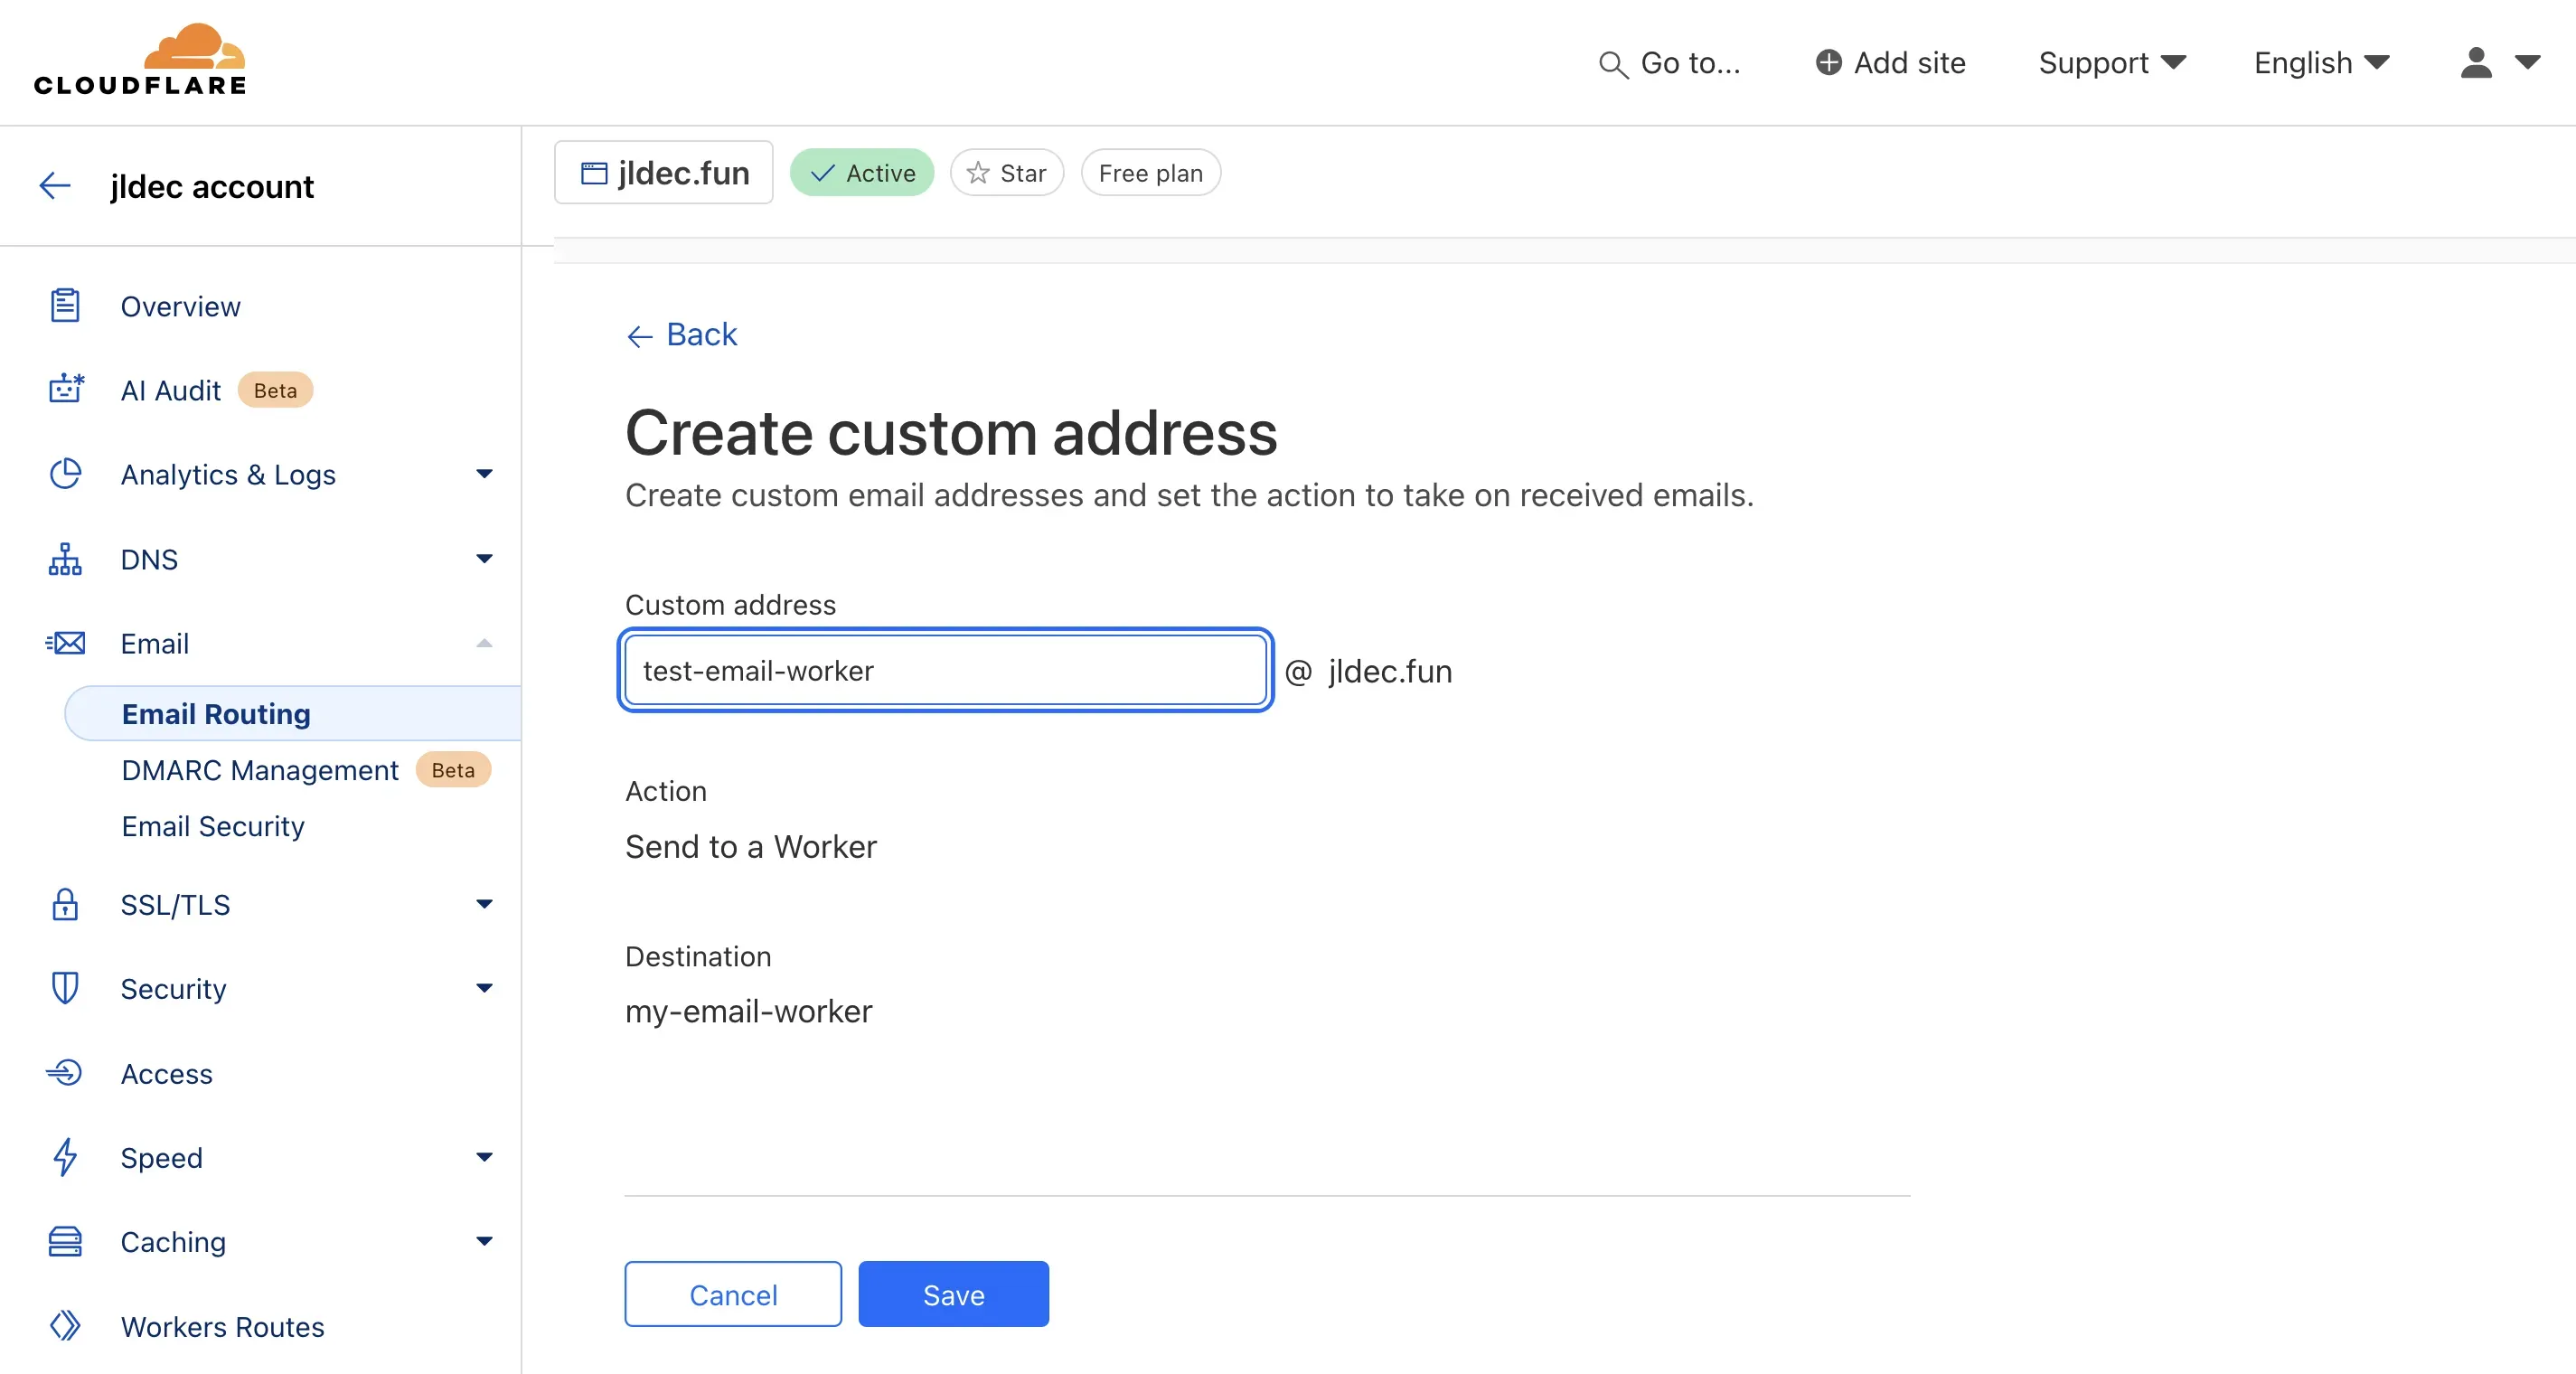
Create a custom email address for the worker to receive emails.
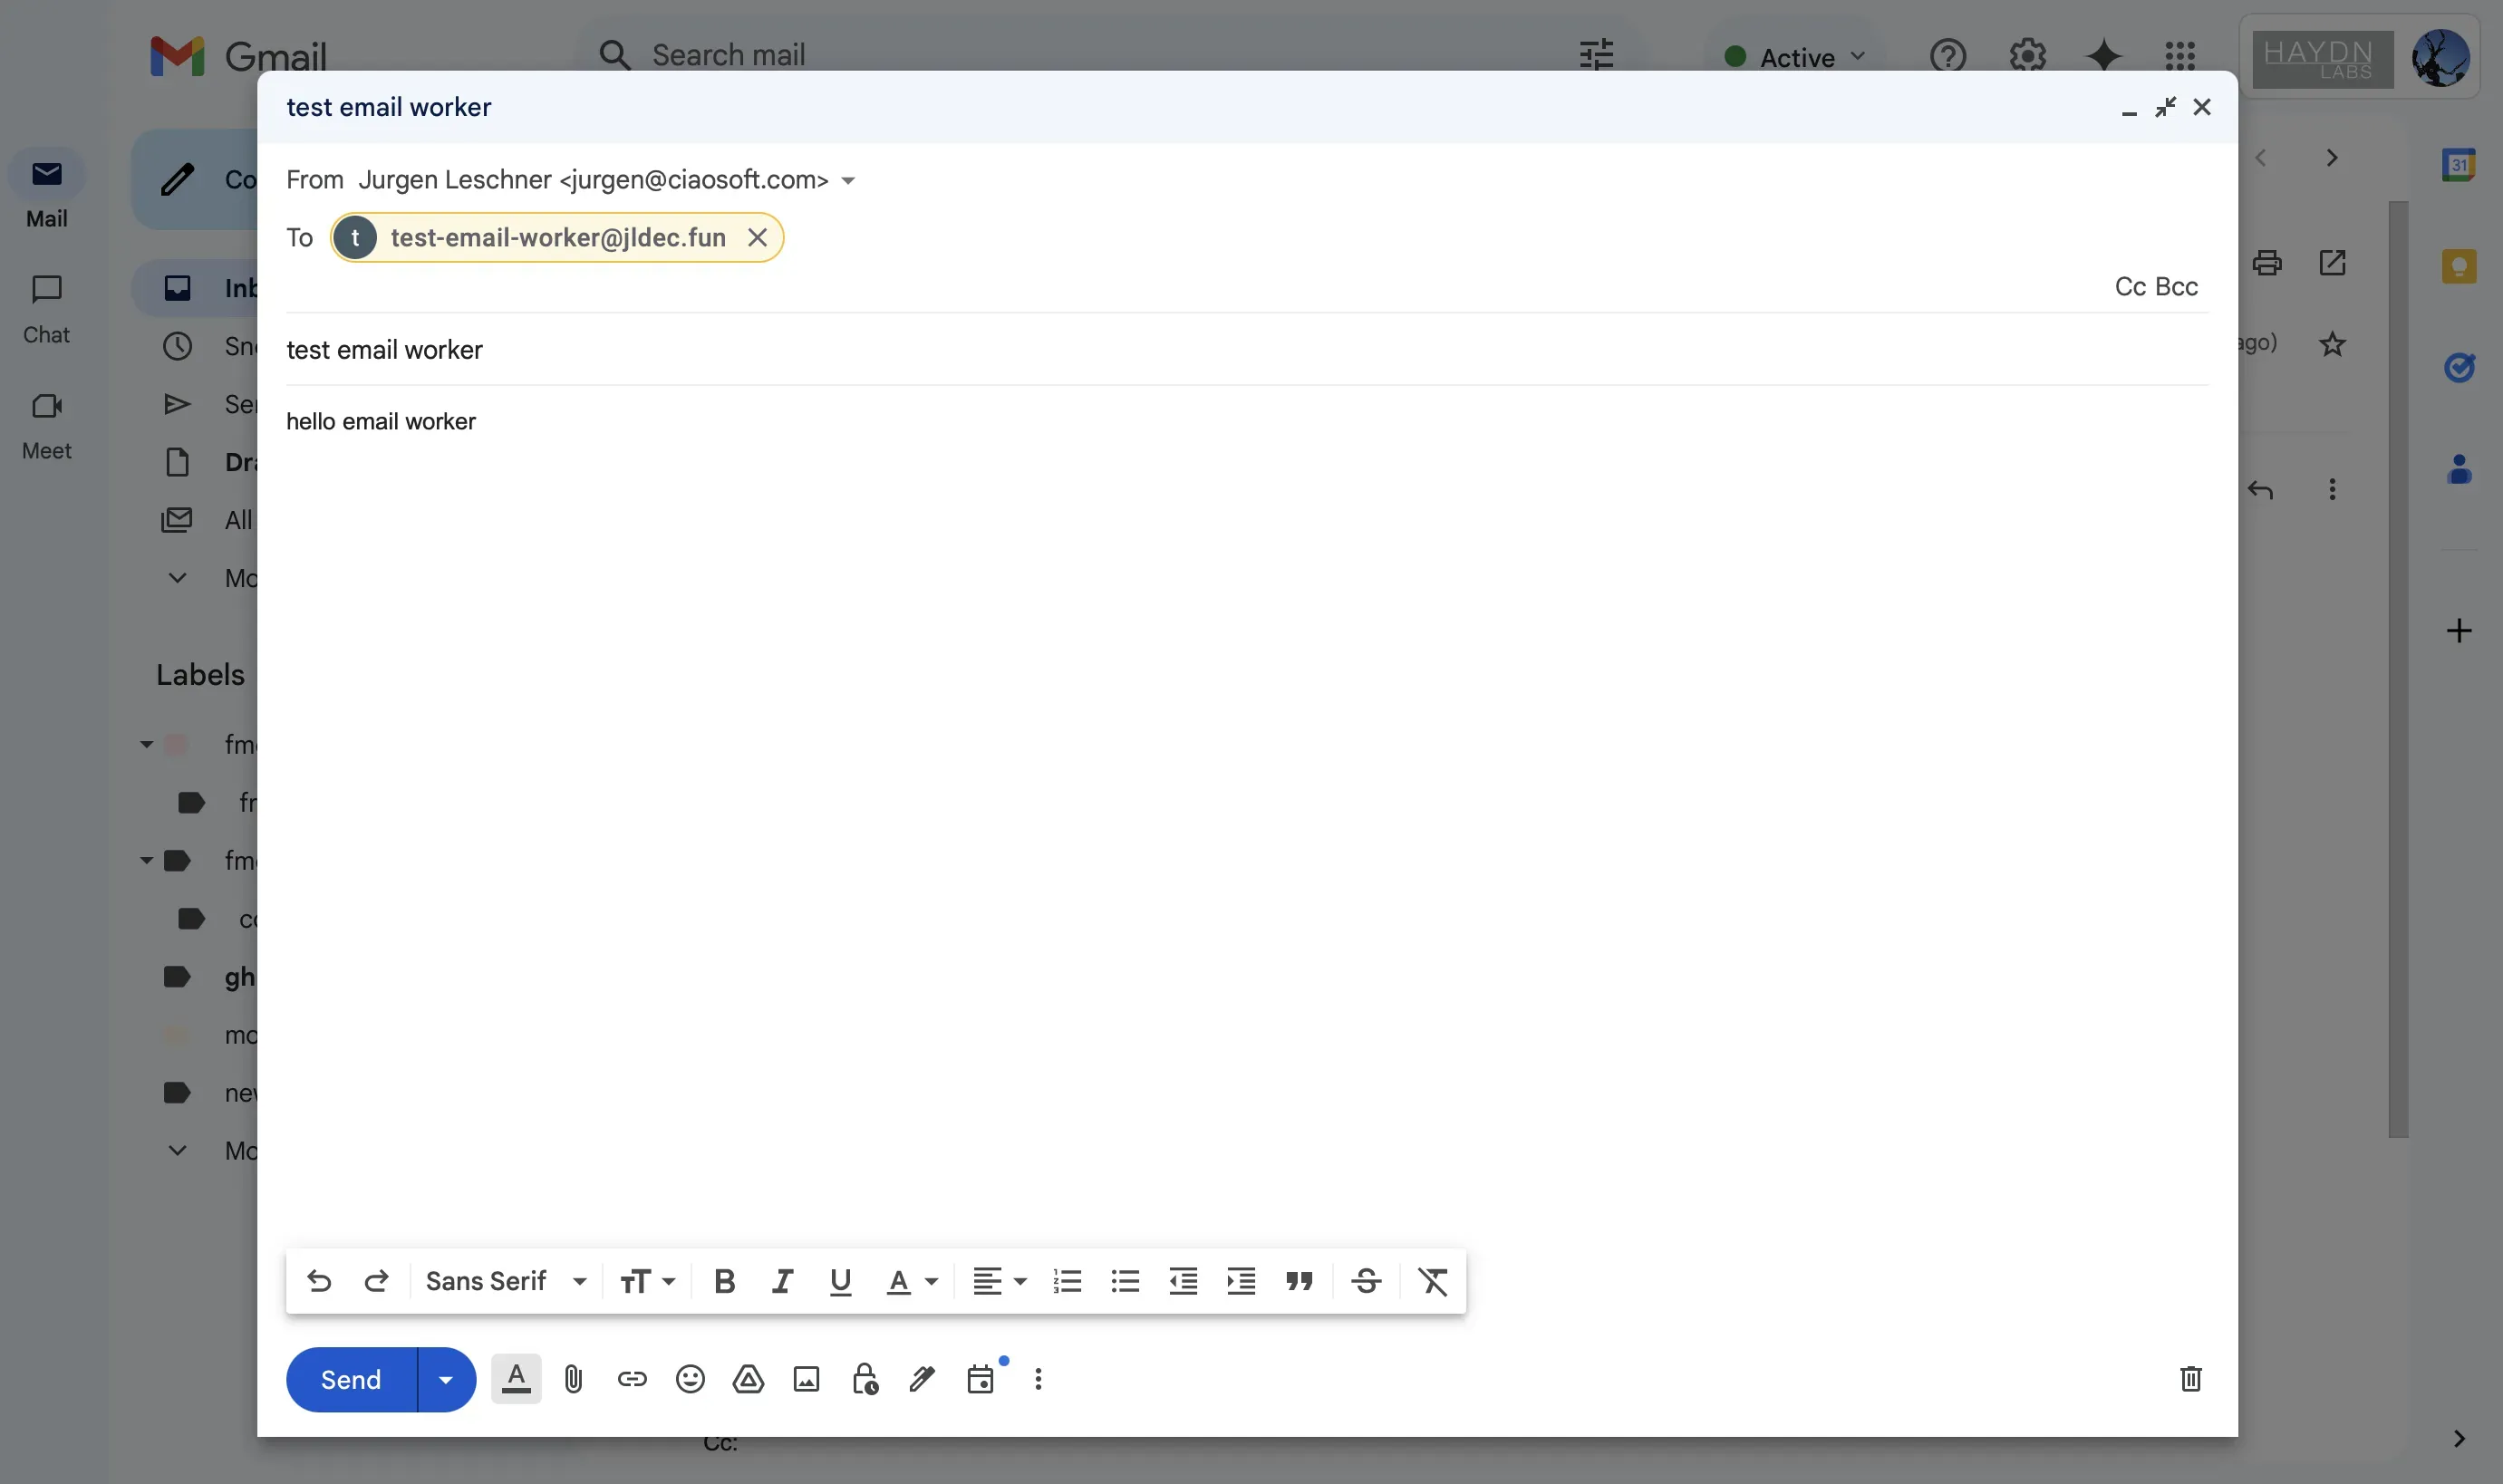
Send a test email to the new worker email address.
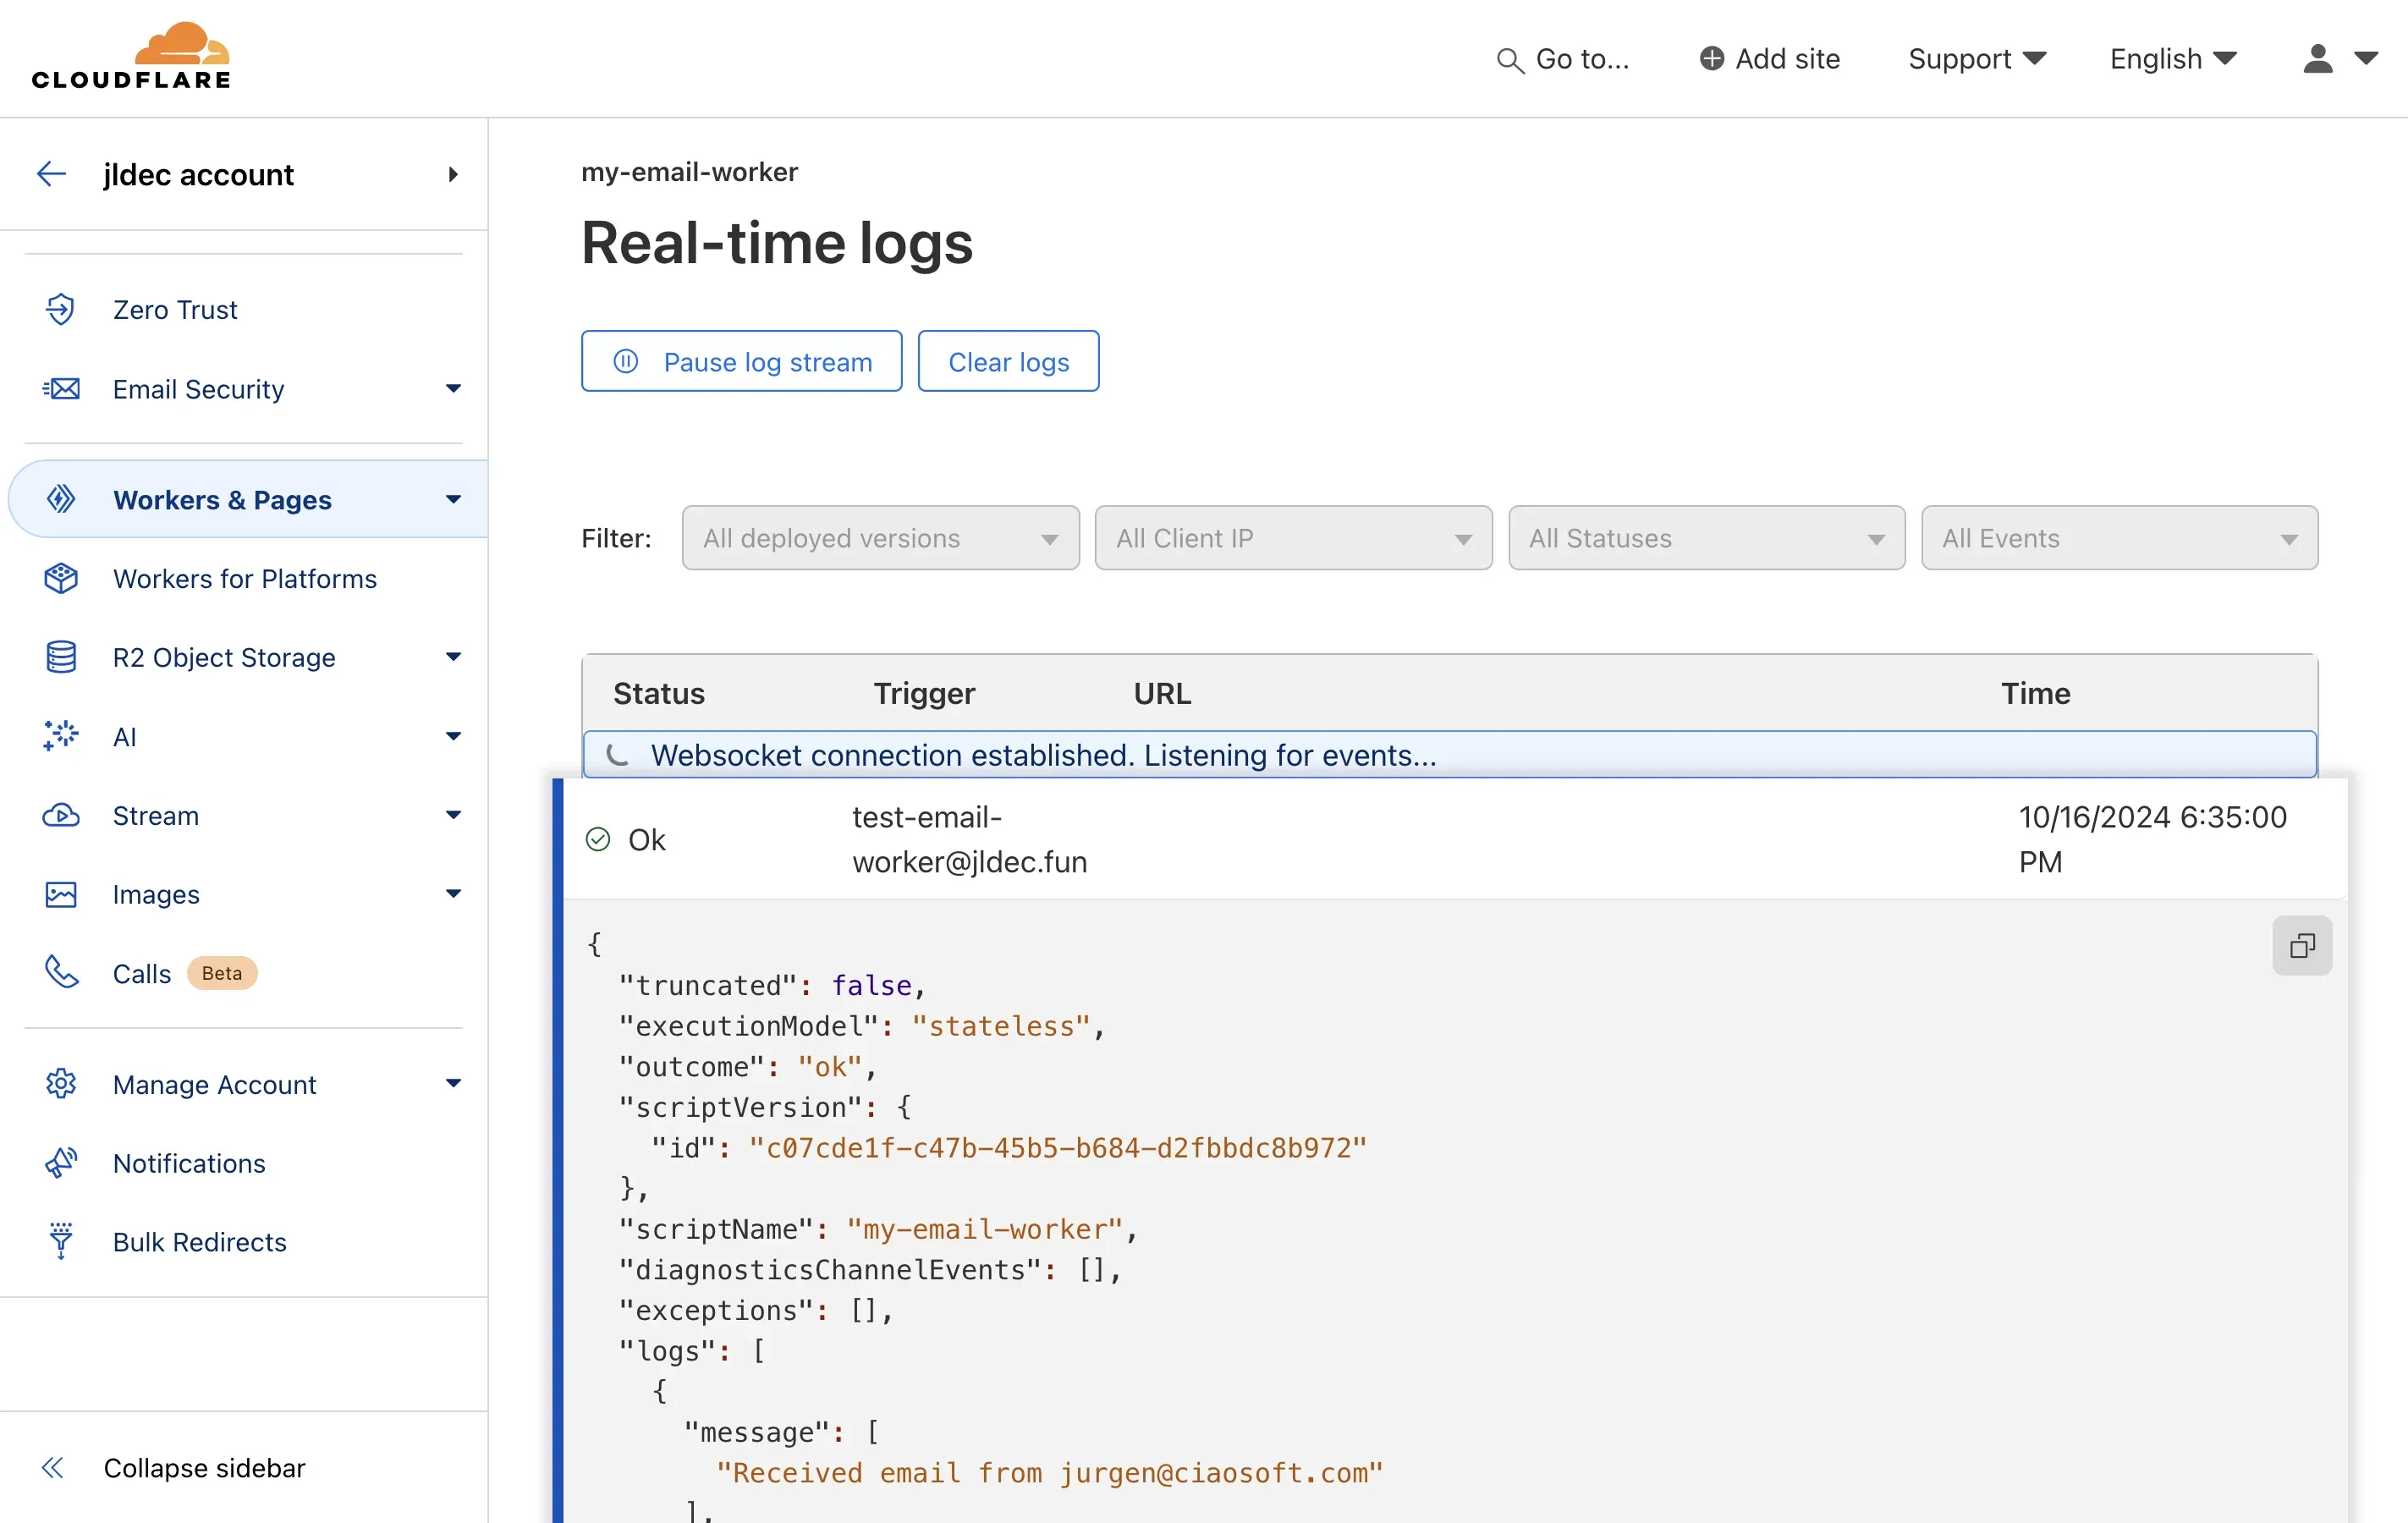
You should see the Live worker logs in the dashboard for the newly-deployed worker, under Workers & Pages in your account. Start the log stream before sending the email.
3. Deploy the Worker with Wrangler
wrangler will allow you to configure the worker to persist logs, and can run builds with TypeScript and 3rd-party npm packages.
To make this easier, I created a starter project at github.com/jldec/my-email-worker with logging enabled.
The sample uses postal-mime to parse attachments, and mime-text to generate a reply. The mime-text package requires nodejs_compat in wrangler.toml.
To use this starter:
pnpm create cloudflare --template github:jldec/my-email-worker- Modify the worker address and forwarding address in
wrangler.toml. - Deploy the worker with
pnpm wranger deploy
wrangler.toml
#:schema node_modules/wrangler/config-schema.json
name = "my-email-worker"
main = "src/index.ts"
compatibility_date = "2024-10-11"
compatibility_flags = [ "nodejs_compat" ]

[observability]
enabled = true

[vars]
EMAIL_WORKER_ADDRESS = "my-email-worker@jldec.fun"
EMAIL_FORWARD_ADDRESS = "jurgen@jldec.me"
index.ts
/**
* Welcome to Cloudflare Workers!
*
* This is a template for an Email Worker: a worker that is triggered by an incoming email.
* https://developers.cloudflare.com/email-routing/email-workers/
*
* - The wrangler development server is not enabled to run email workers locally.
* - Run `pnpm ship` to publish your worker
*
* Bind resources to your worker in `wrangler.toml`. After adding bindings, a type definition for the
* `Env` object can be regenerated with `pnpm cf-typegen`.
*
* Learn more at https://developers.cloudflare.com/workers/
*/
import { EmailMessage } from 'cloudflare:email'
import { createMimeMessage } from 'mimetext'
import PostalMime from 'postal-mime'
export default {
email: async (message, env, ctx) => {
console.log(`Received email from ${message.from}`)
// parse for attachments - see postal-mime for additional options
// https://github.com/postalsys/postal-mime/tree/master?tab=readme-ov-file#postalmimeparse
const email = await PostalMime.parse(message.raw)
email.attachments.forEach((a) => {
if (a.mimeType === 'application/json') {
const jsonString = new TextDecoder().decode(a.content)
const jsonValue = JSON.parse(jsonString)
console.log(`JSON attachment value:\n${JSON.stringify(jsonValue, null, 2)}`)
}
})
// reply to sender must include in-reply-to with message ID
// https://developers.cloudflare.com/email-routing/email-workers/reply-email-workers/
const messageId = message.headers.get('message-id')
if (messageId) {
console.log(`Replying to ${message.from} with message ID ${messageId}`)
const msg = createMimeMessage()
msg.setHeader('in-reply-to', messageId)
msg.setSender(env.EMAIL_WORKER_ADDRESS)
msg.setRecipient(message.from)
msg.setSubject('Auto-reply')
msg.addMessage({
contentType: 'text/plain',
data: `Thanks for the message`
})
const replyMessage = new EmailMessage(env.EMAIL_WORKER_ADDRESS, message.from, msg.asRaw())
ctx.waitUntil(message.reply(replyMessage))
}
ctx.waitUntil(message.forward(env.EMAIL_FORWARD_ADDRESS))
}
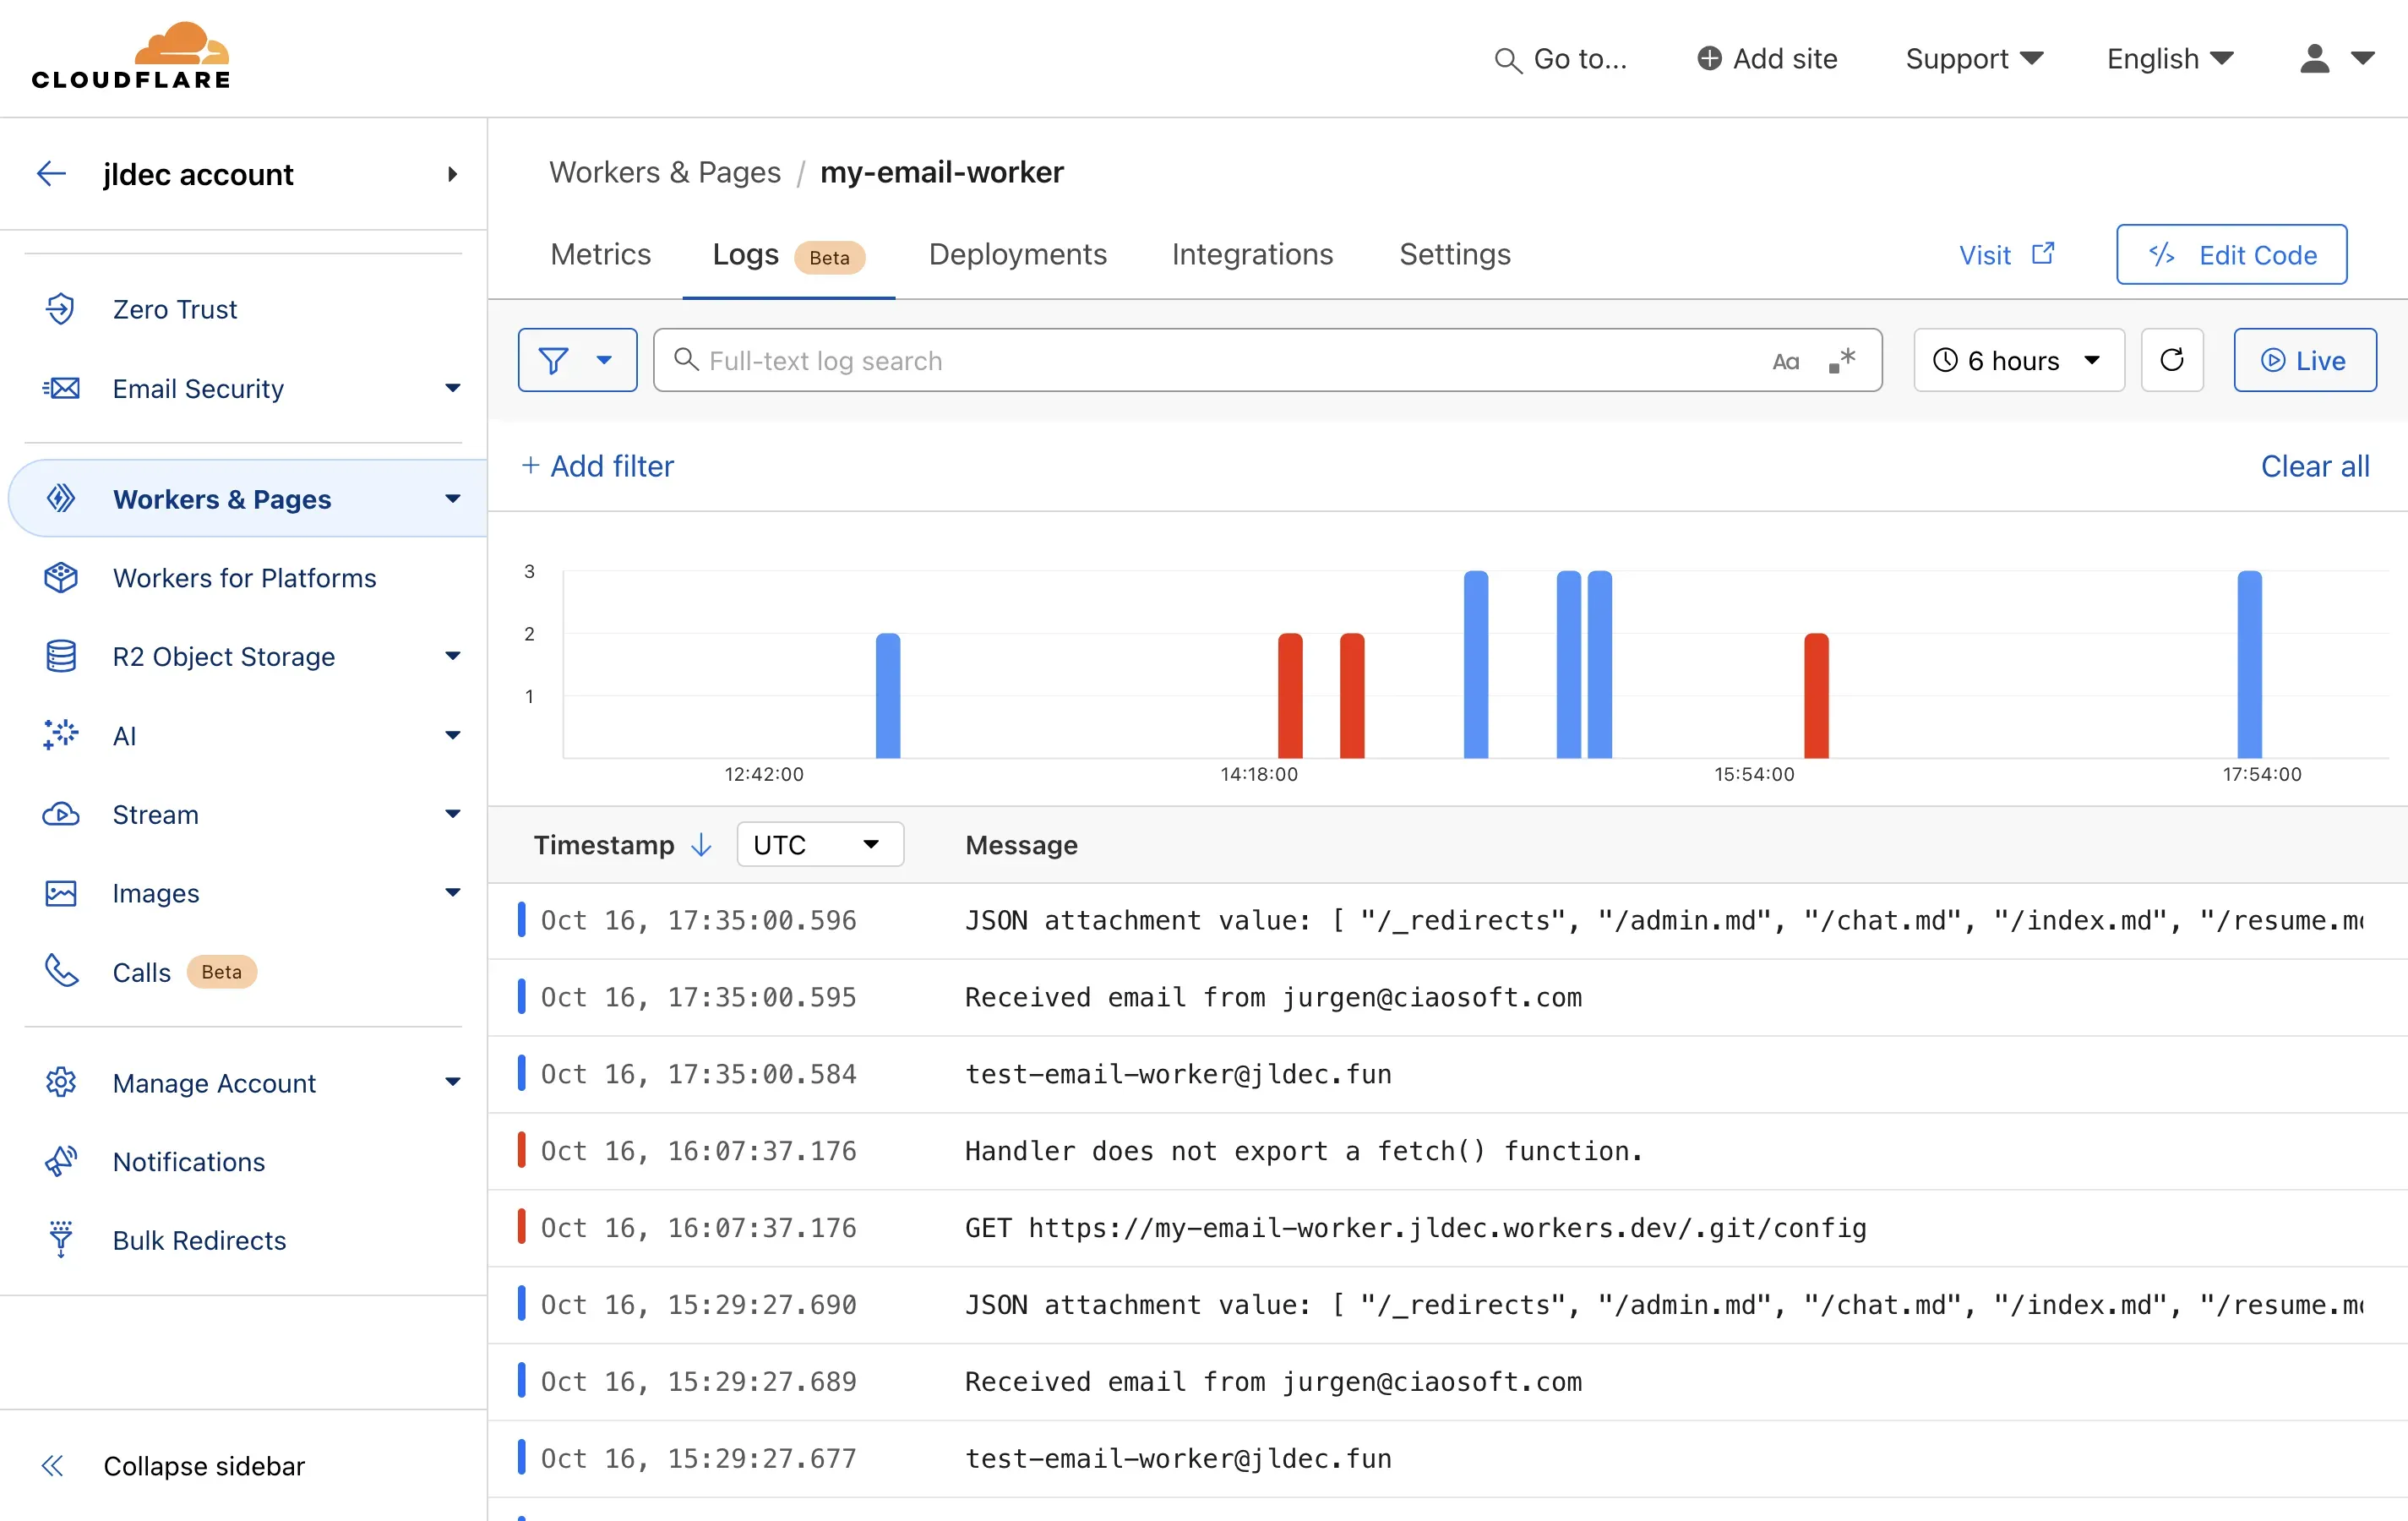
} satisfies ExportedHandler<Env>Here are the persisted logs in the Cloudflare dashboard. 🎉
Tip: If you use gmail to test forwarding, I suggest using one account to send, and a different account to receive the forwarded emails . Using the same account (even with an alias) has not worked for me.
4. Add POST handler to send emails
For a worker to send emails from a fetch handler, you need a send_email binding in wrangler.toml. E.g.
[[send_email]]
name = "SEND_EMAIL"
The binding name is required to expose env.<NAME>.send() in the worker.
Additional binding values for destination_address or allowed_destination_addresses are optional.
Run wrangler types to add the new binding to the Env interface in worker-configuration.d.ts.
For the binding to work, the from address must match a configured custom address, and the to address must match a configured destination address. The docs are little unclear about this, but this is how I got it to work.
  // Send email in respose to a POST request
  // TODO: CSRF protection, CORS headers, handle form data encoding
  // https://developers.cloudflare.com/email-routing/email-workers/send-email-workers/#example-worker
  async fetch(request, env) {
    if (request.method !== 'POST') {
      return new Response('Method Not Allowed', { status: 405 })
    }
    const msg = createMimeMessage()
    msg.setSender(env.EMAIL_WORKER_ADDRESS)
    msg.setRecipient(env.EMAIL_FORWARD_ADDRESS)
    msg.setSubject('Worker POST')
    msg.addMessage({
      contentType: 'text/plain',
      data: (await request.text()) ?? 'No body'
    })

    var message = new EmailMessage(env.EMAIL_WORKER_ADDRESS, env.EMAIL_FORWARD_ADDRESS, msg.asRaw())
    try {
      await env.SEND_EMAIL.send(message)
    } catch (e) {
      return new Response((e as Error).message)
    }

    return new Response('OK')
  }
Test with a curl request and look for the email in your inbox.
$ curl https://my-email-worker.jldec.workers.dev/ -d 'hello worker'
OK
💌 You’ve got mail.